Free SQL Server
FreeASPHosting.net provides a robust and free SQL Server hosting solution. You can manage your database using our Microsoft SQL server free online service through Microsoft SQL Server Management Studio (SSMS). Our free ASP.NET hosting features include 5 GB of disk space, unlimited bandwidth, .NET 7.0, ASP.NET Core, and a dedicated application pool giving you the flexibility you need to build and deploy your web applications with ease.
You can get started using FreeASPHosting.net by registering for a free account. To do so, please follow these simple steps given below:
1
Free SQL Server
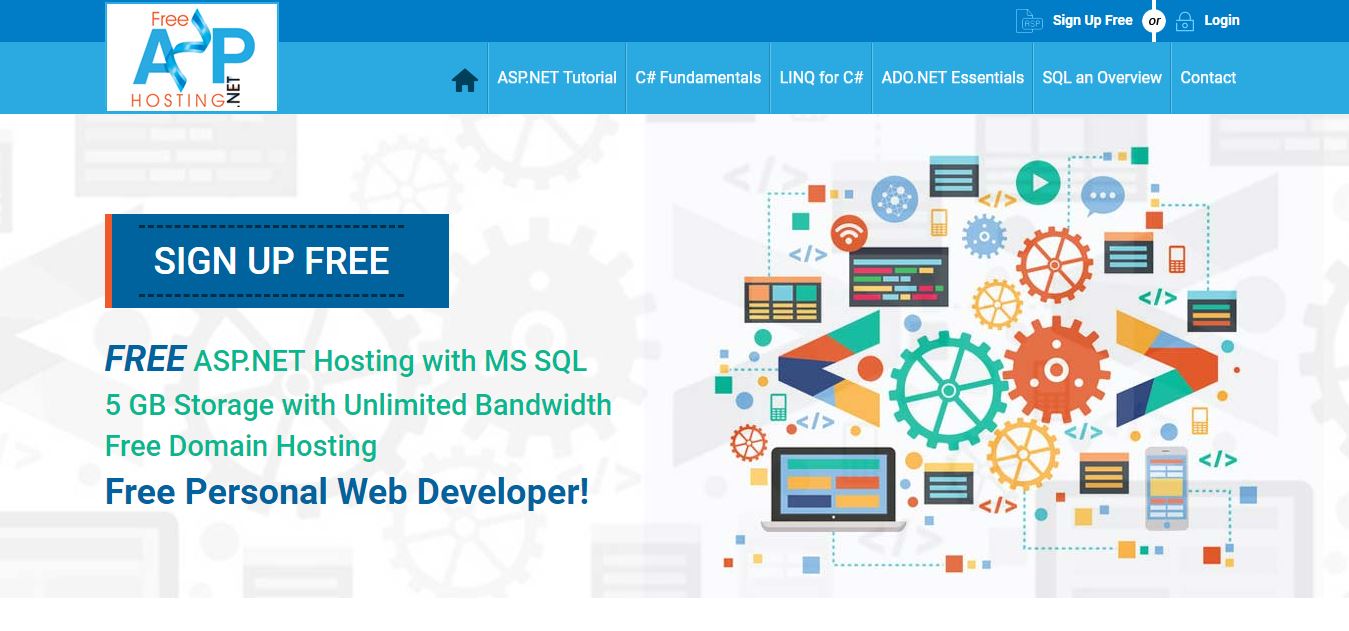
Click on the Sign Up link 
2
SQL Server Free
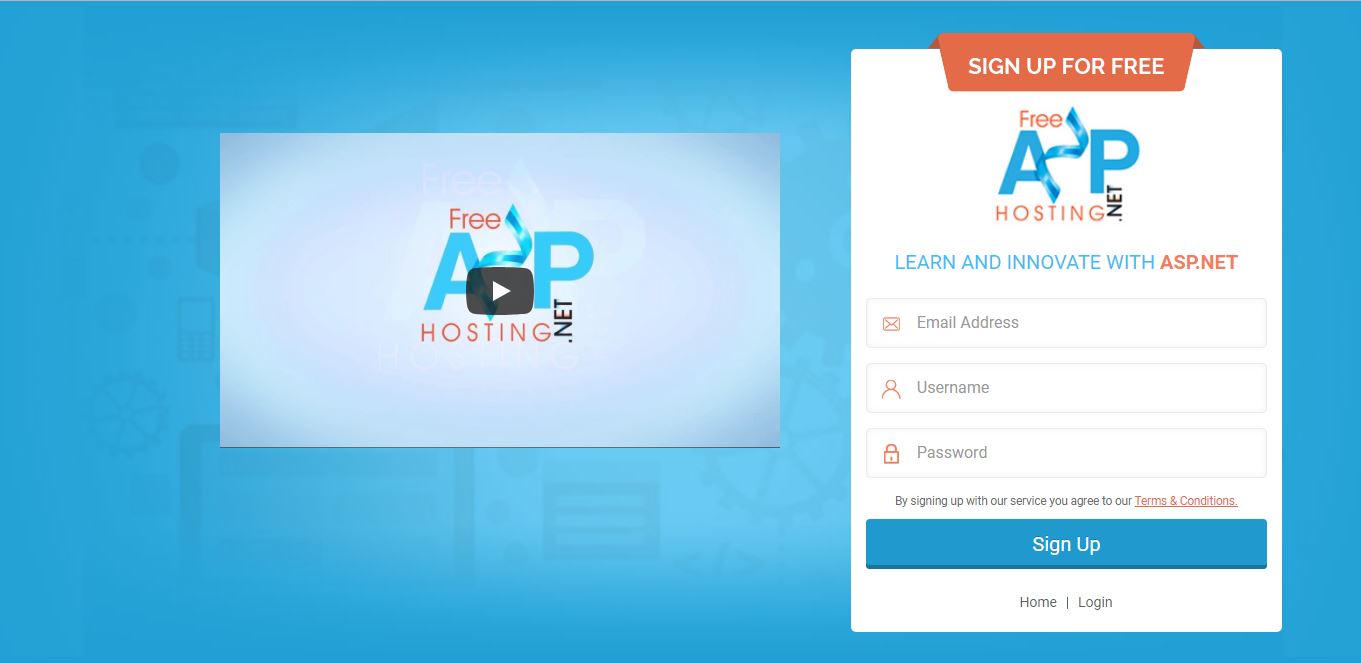
Now you have a Sign Up Form. You can sign up by entering
- Your Email address

- Username

- Password

Your username will be used to define your website address; for example username.FreeASPHost.net
3
SQL Server Online Free
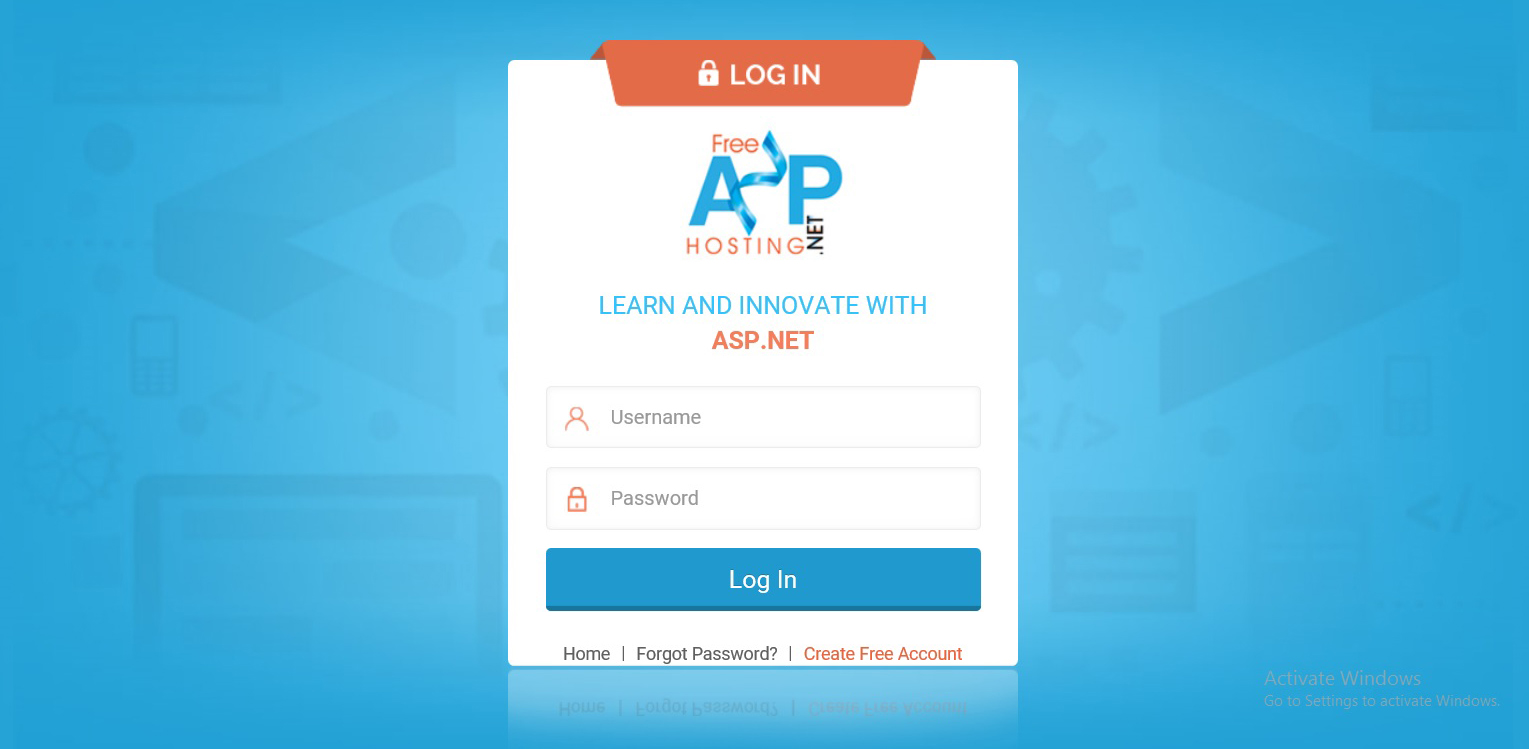
If you already have an account then you can simply login by entering your
- Username

- Password

4
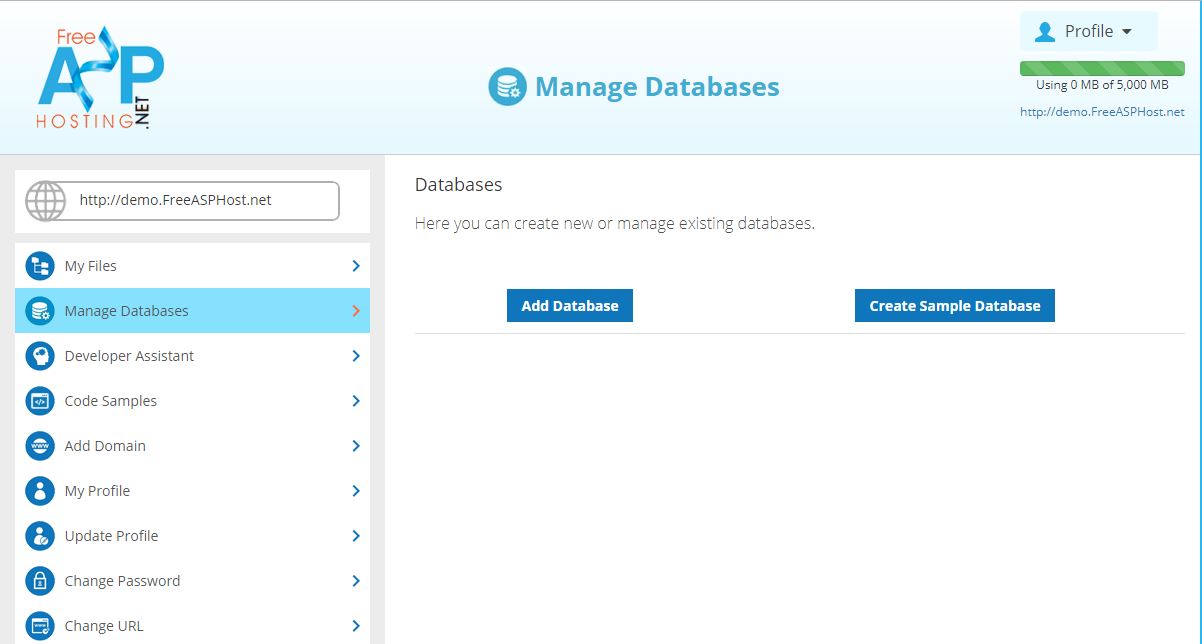
Now you have your Dashboard with multiple links. You can immediately upload your project by clicking on the “My Files” link. We also provide you a guide how to setup your MS SQL database. To view the process please click on “Manage Databases.” Then click on the “Create Sample Database” button.
5
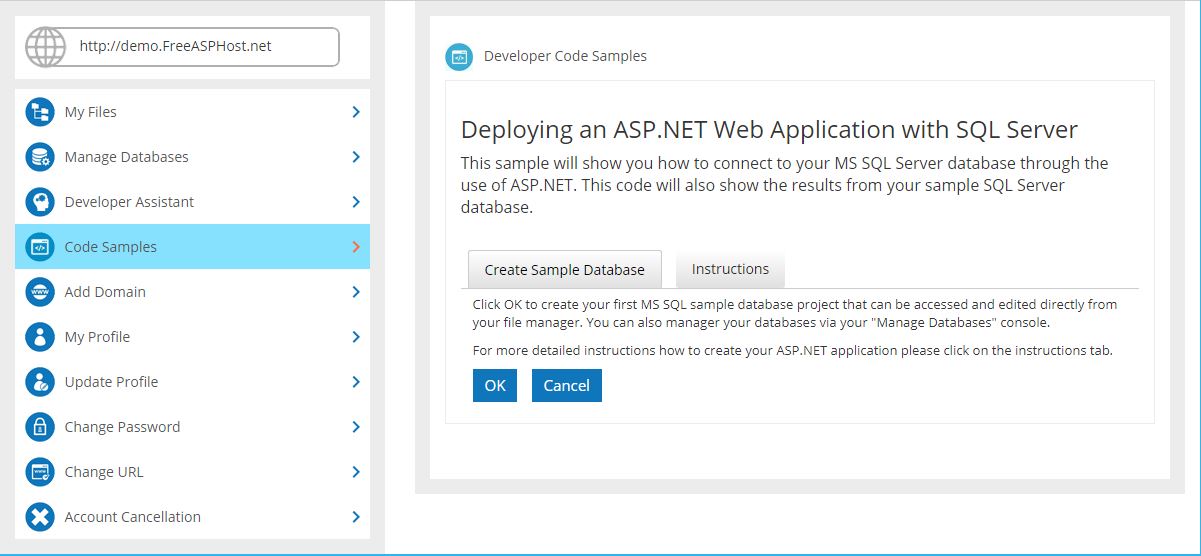
After clicking on the “Create Sample Database” button, Select the tab named “Create Sample Database” and press on the “OK” button.
6
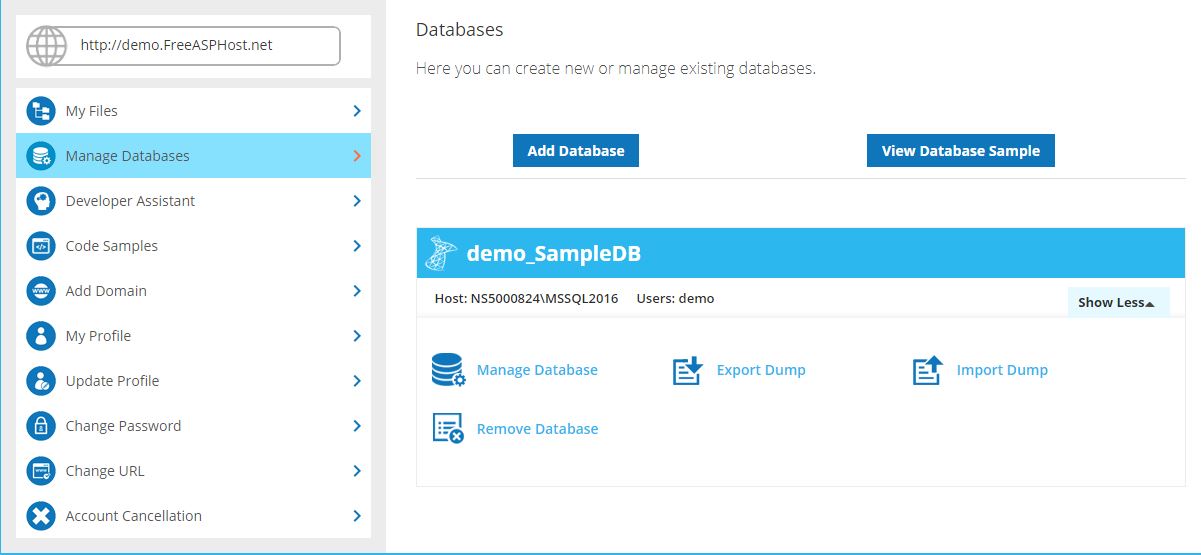
Your Sample Database is now created. If you want to show the sample data then click on the “View Database Sample” button.
7
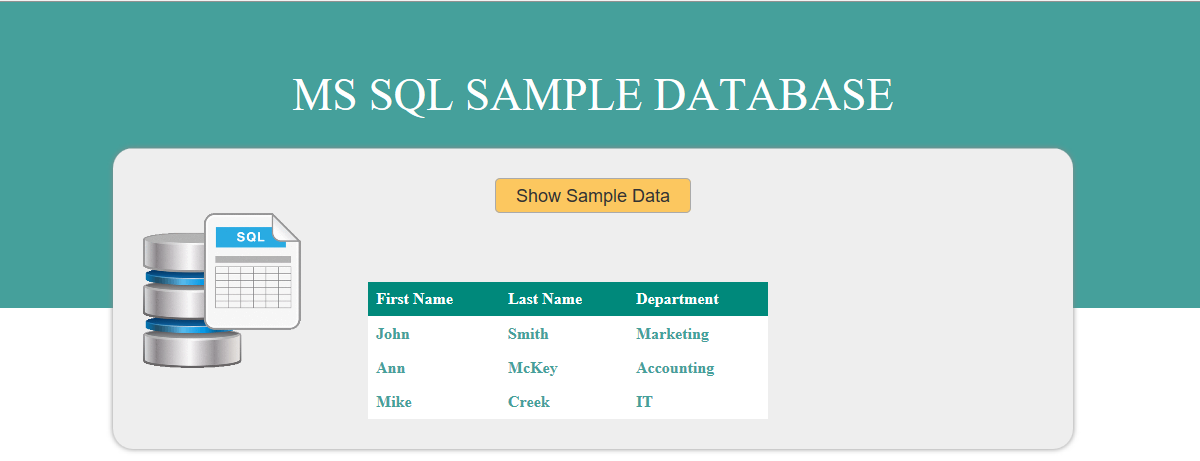
Click on the “Show Sample Data” button, to display the data.

8
Now the sample data is displayed.
9
To upload your database backup file you must perform the following steps.
-
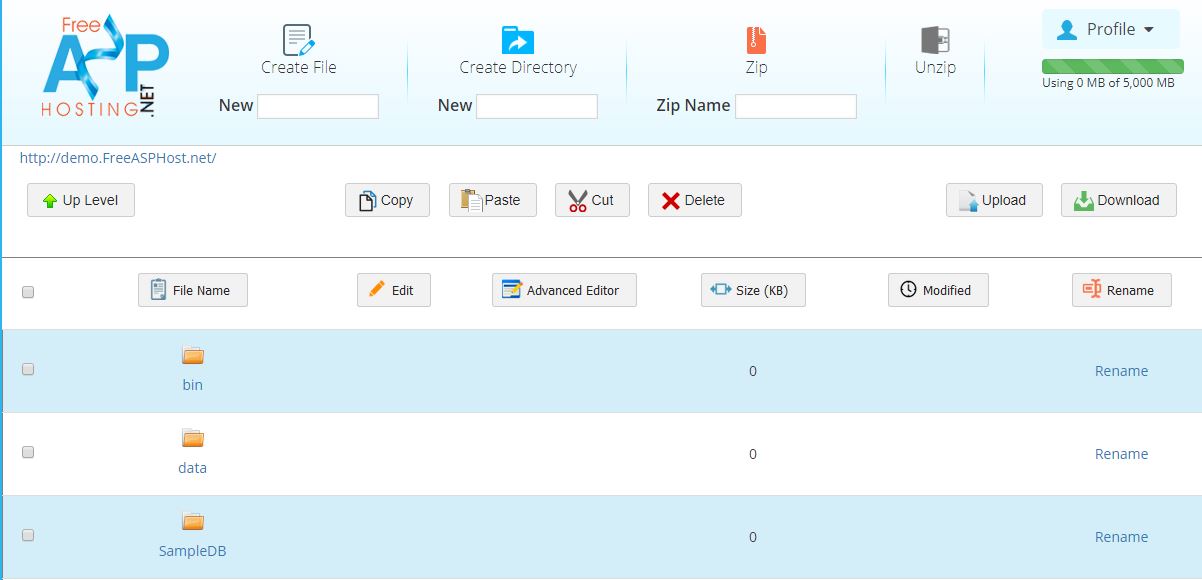
In your FreeASPHosting.net dashboard click on the "My File" link. This will open the File Manager.
-
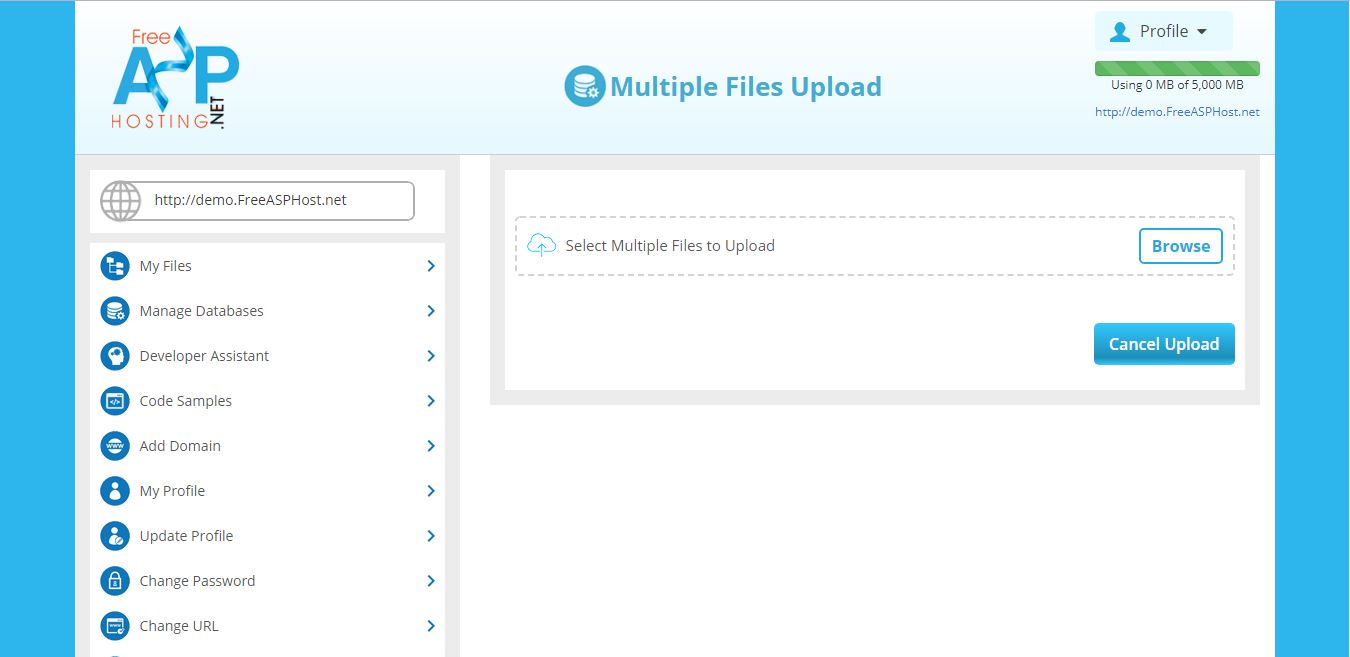
Then click on upload icon
 it will show you a new screen in which you can upload your MS SQL backup file.
-
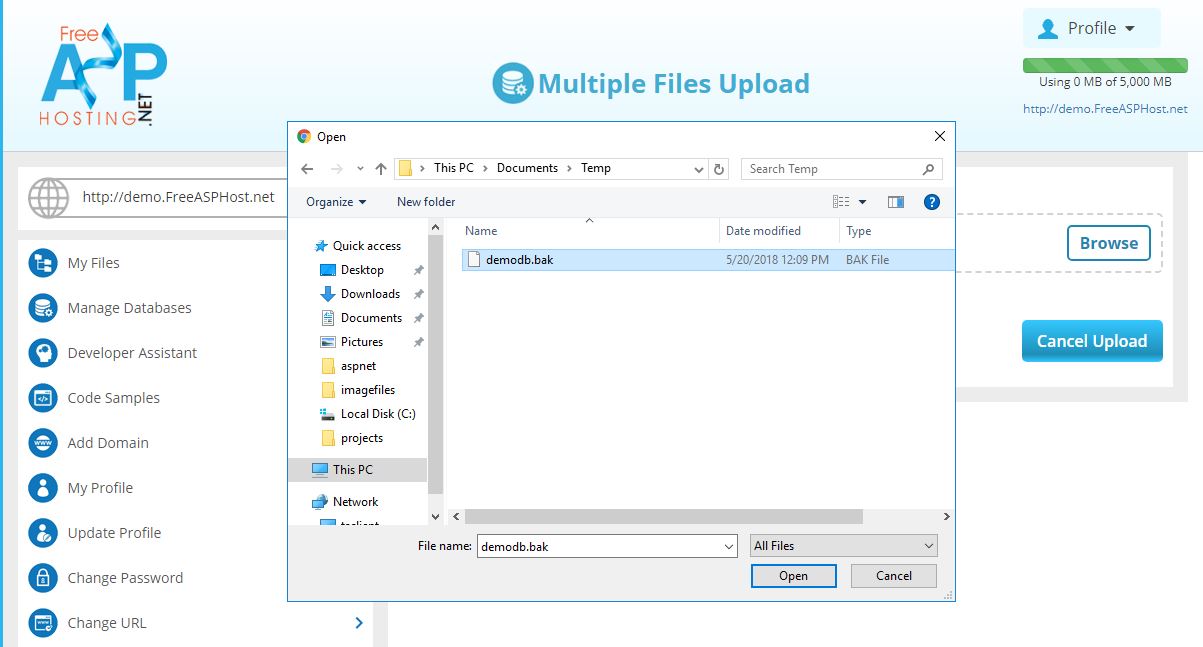
Now click on the “browse” button and select the directory in which your database is placed and click on the ok button..
-
Now you can create your new database by clicking on the add database button in the dashboard
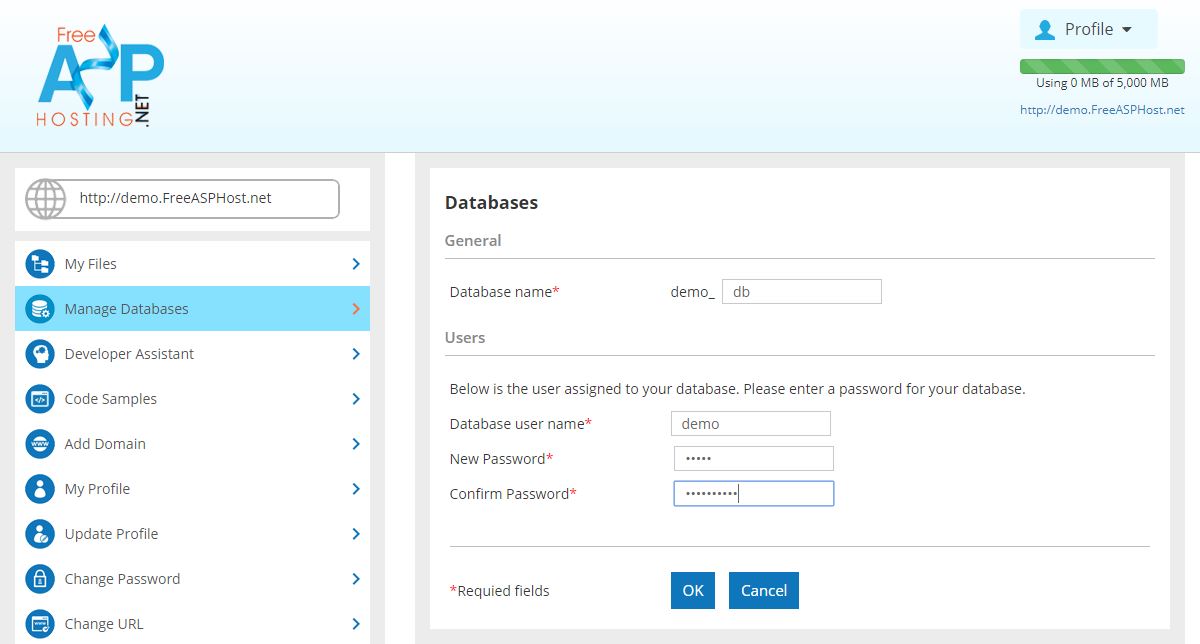
 After clicking you have a new screen in which, you can a add database name, user name, and password. Then click on the OK button to proceed.
-
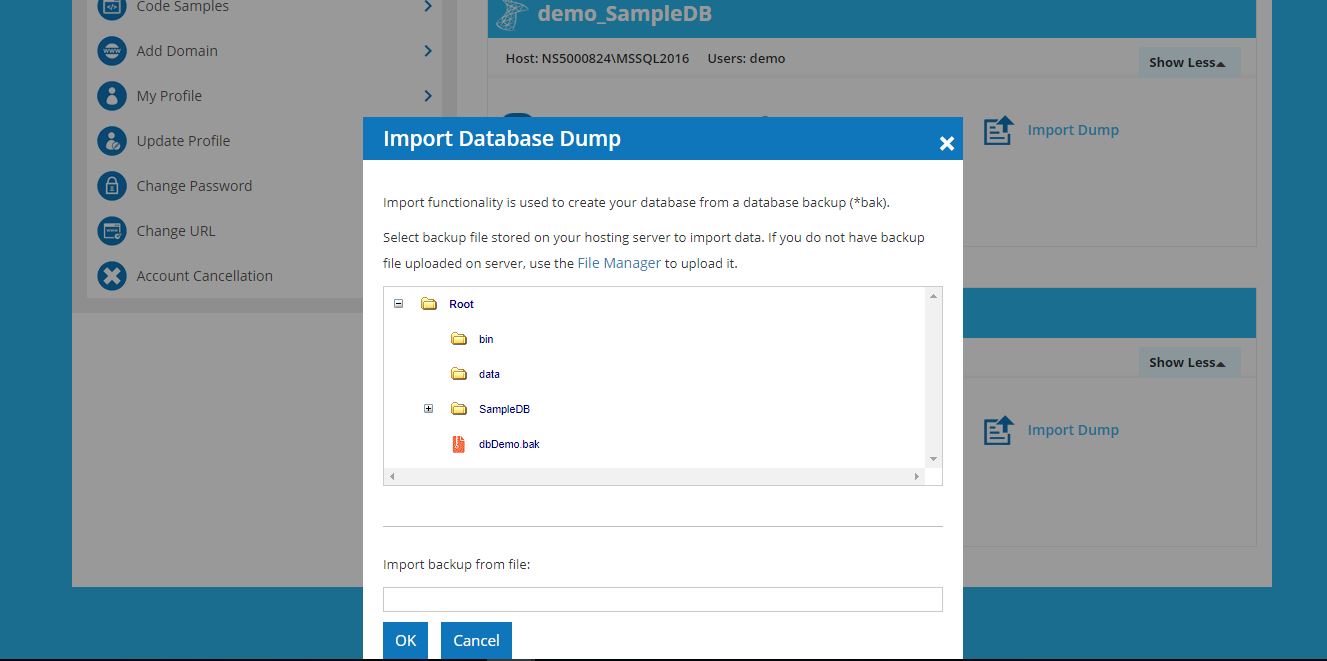
After clicking the OK button now go to your dashboard and import your database by clicking on import link
 You can see that your backup file in the directory list. Select you SQL back up file and click ok and your data will be imported
10
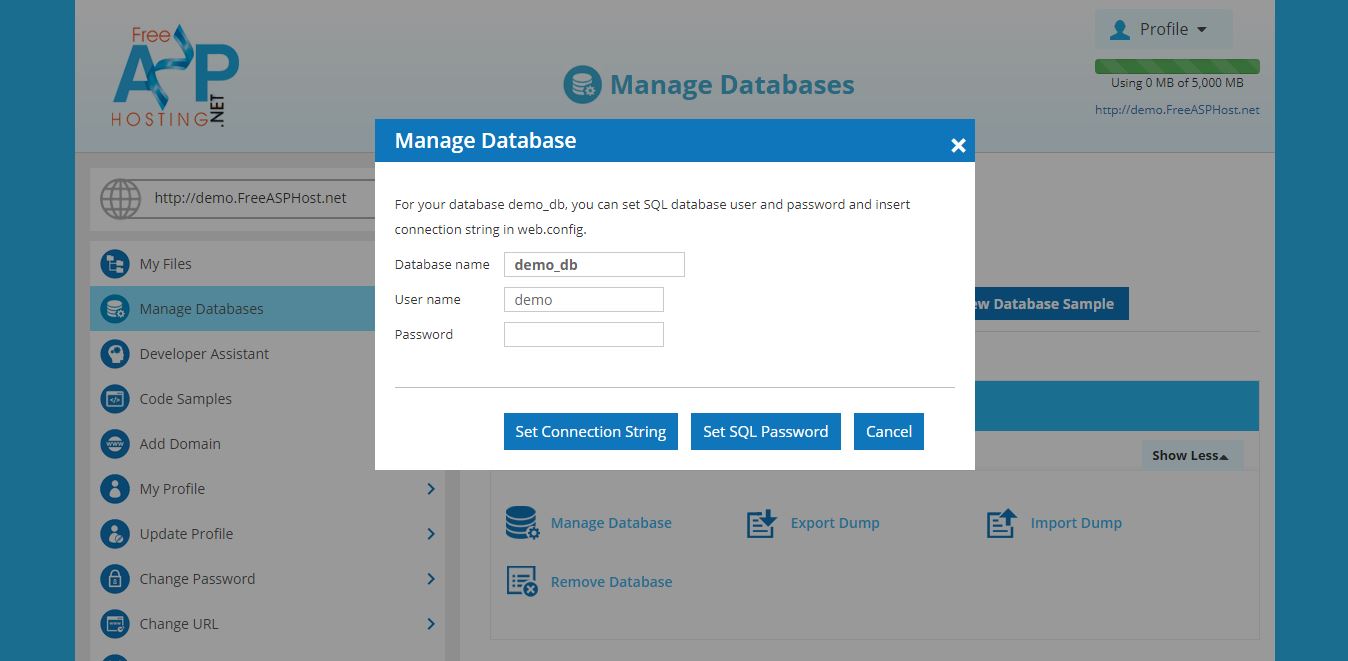
Now you have two databases "demo_SampleDB" and "demo_db". You can change your database password and setting demo_db database in connection string by clicking on the manage database icon  that is present under demo_db. Now you have a screen in which you can change password and set connection string.
11
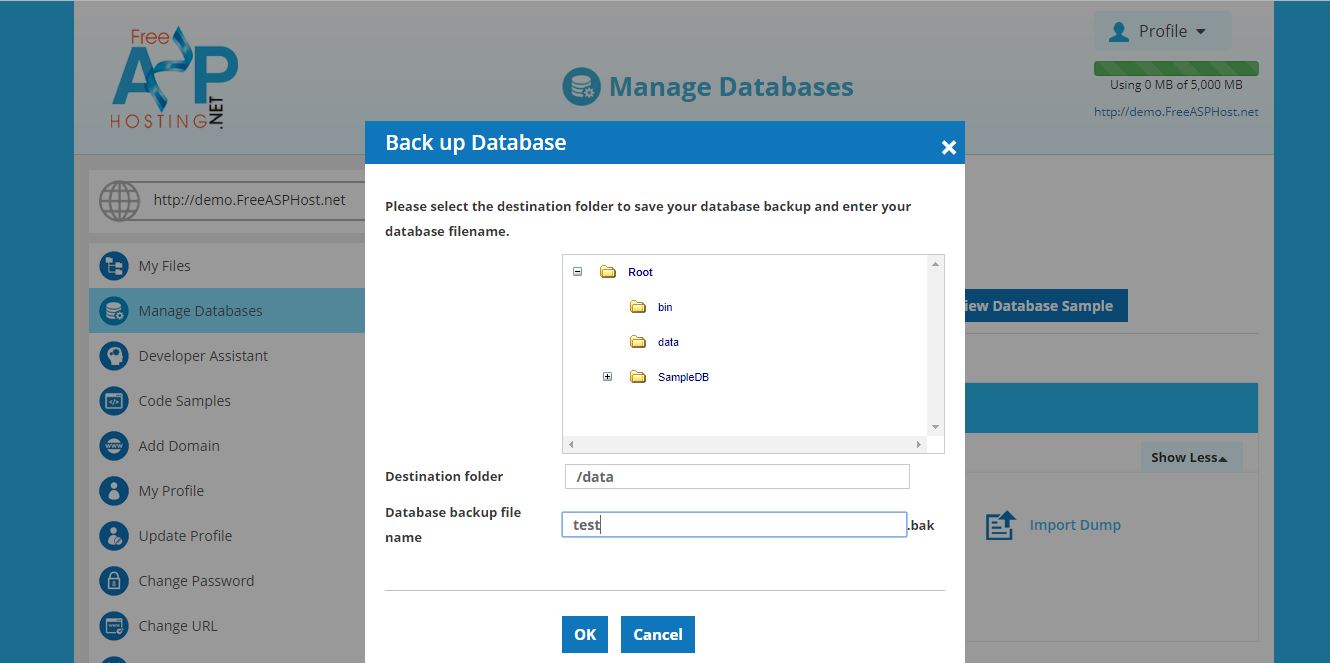
You can also export the databases by clicking on export icon.  You have to give the database name and destination folder where you want to export and then click “OK” to export.
