Display Data in ASP.Net GridView Control Download Sample Source Code

Welcome back to FreeASPHosting.net training. In this tutorial, we will discover how to display an SQL Server Table’s data/content, in an ASP.NET web page using a GridViewControl.
1
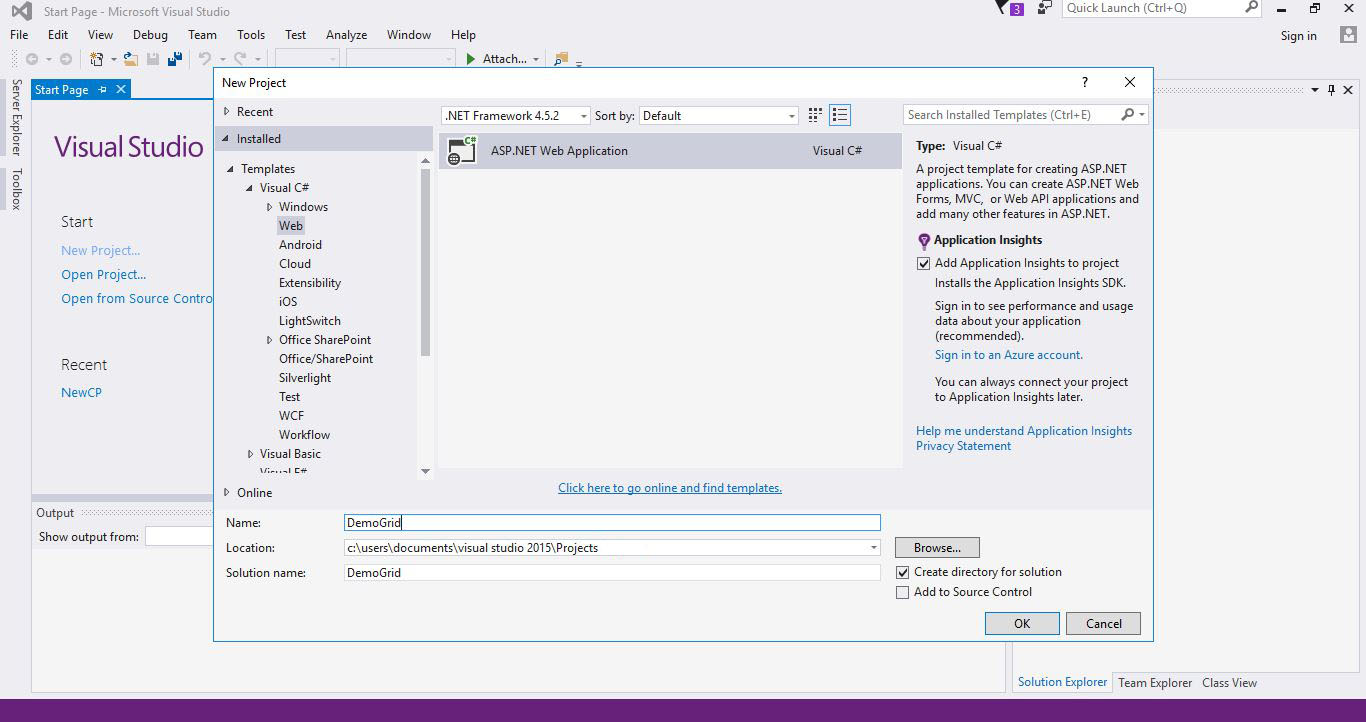
First, let’s create an ASP.NETweb project by clicking on “New Project.” From the project templates list, chose “Web”, then select “ASP.NET Web Application.” On the bottom of the screen, give a name to your project and click “OK.”
2
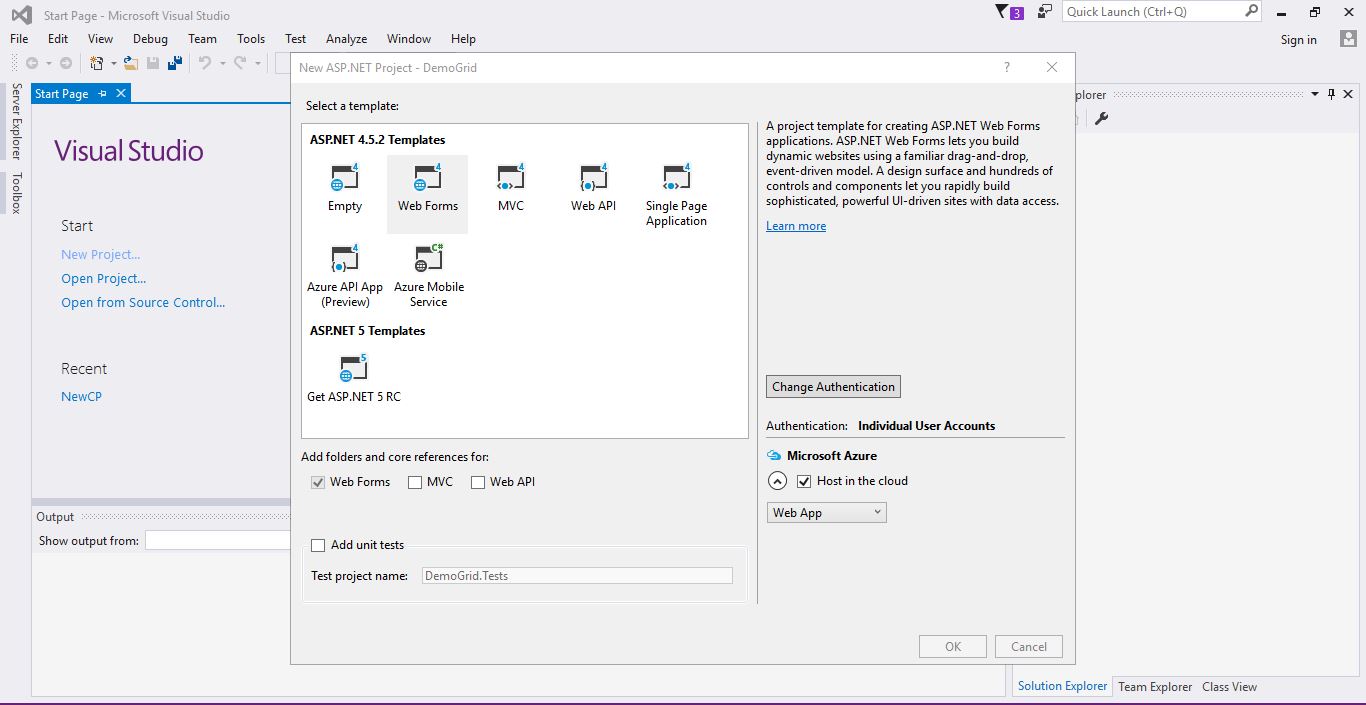
On the following screen, from the templates list, chose the “Web Forms” template, then click “OK” to proceed.
3
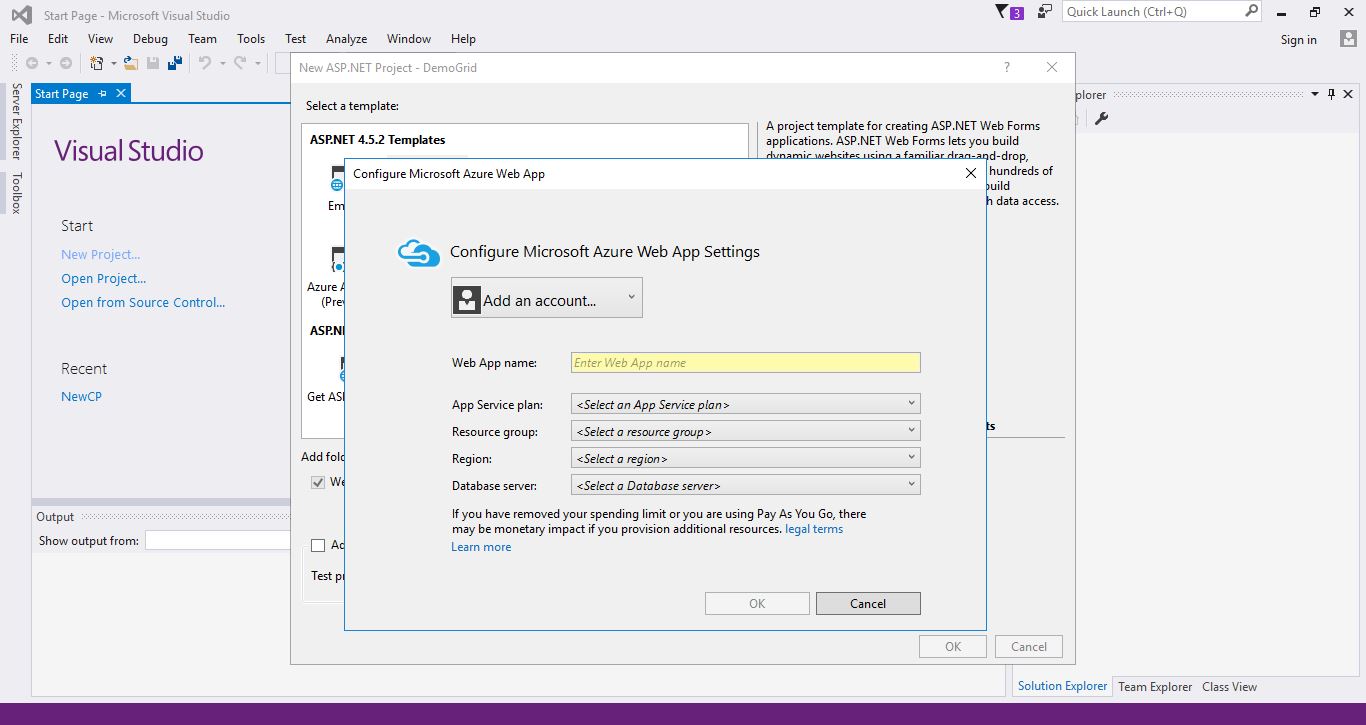
Sometimes, Visual Studio might prompt you with a screen to set up Microsoft Azure, feel free to skip it for now by clicking on the “Cancel” button.
4
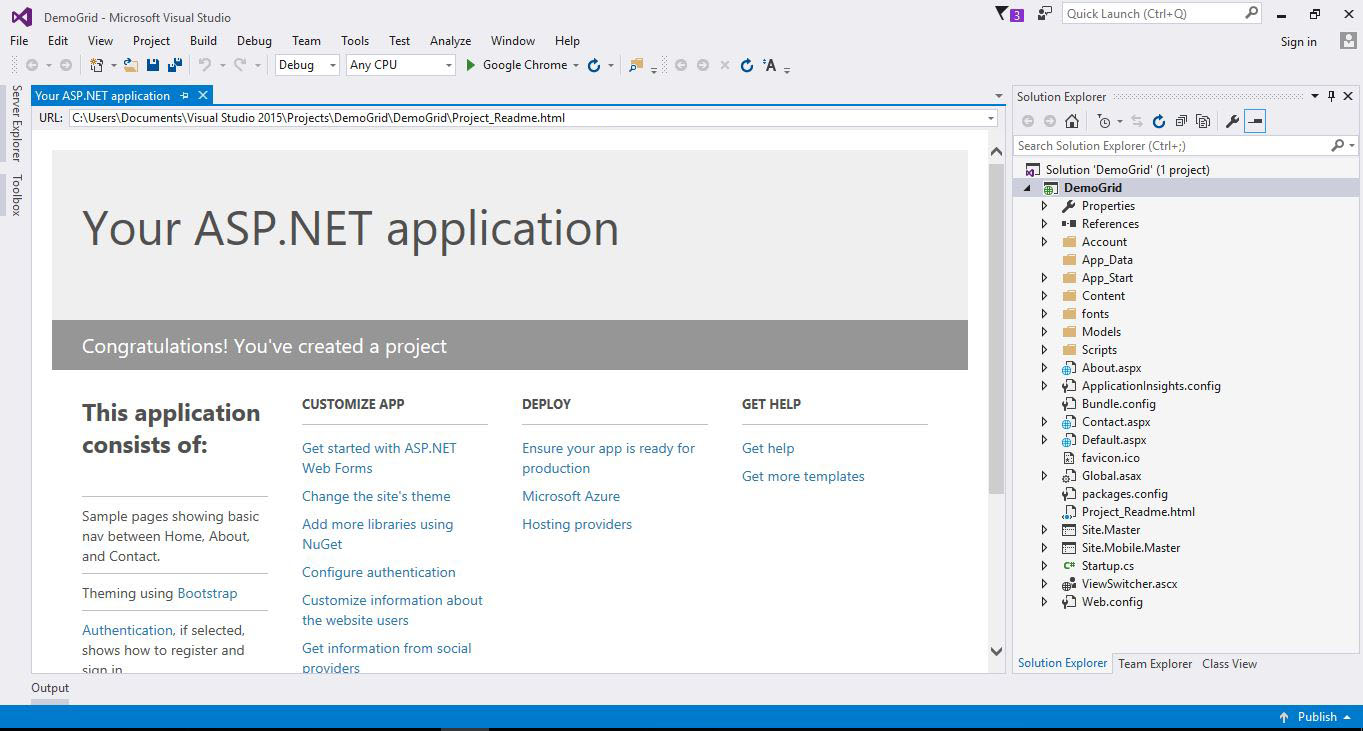
After few minutes, your application is created. Congratulations! The solution explorer appears on the right sidebar, while the default application’s welcome message is displayed on the main area.
5
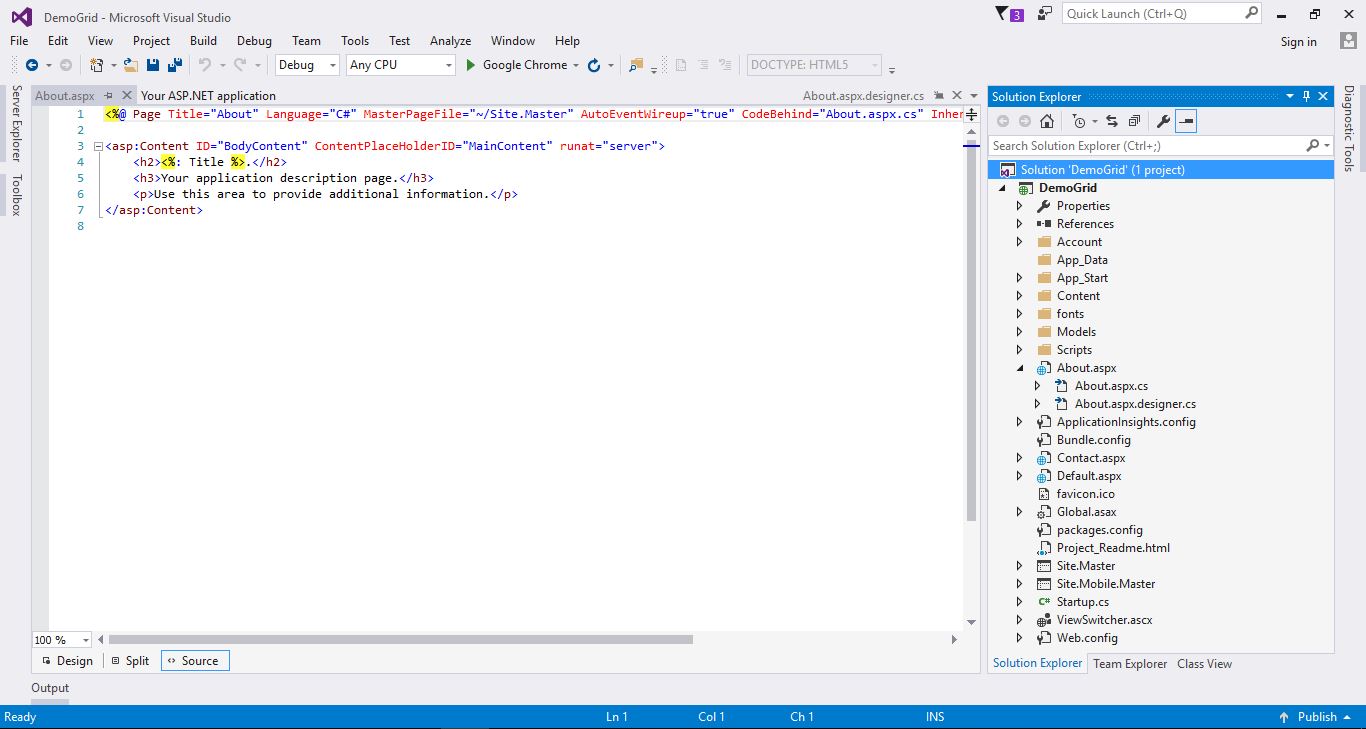
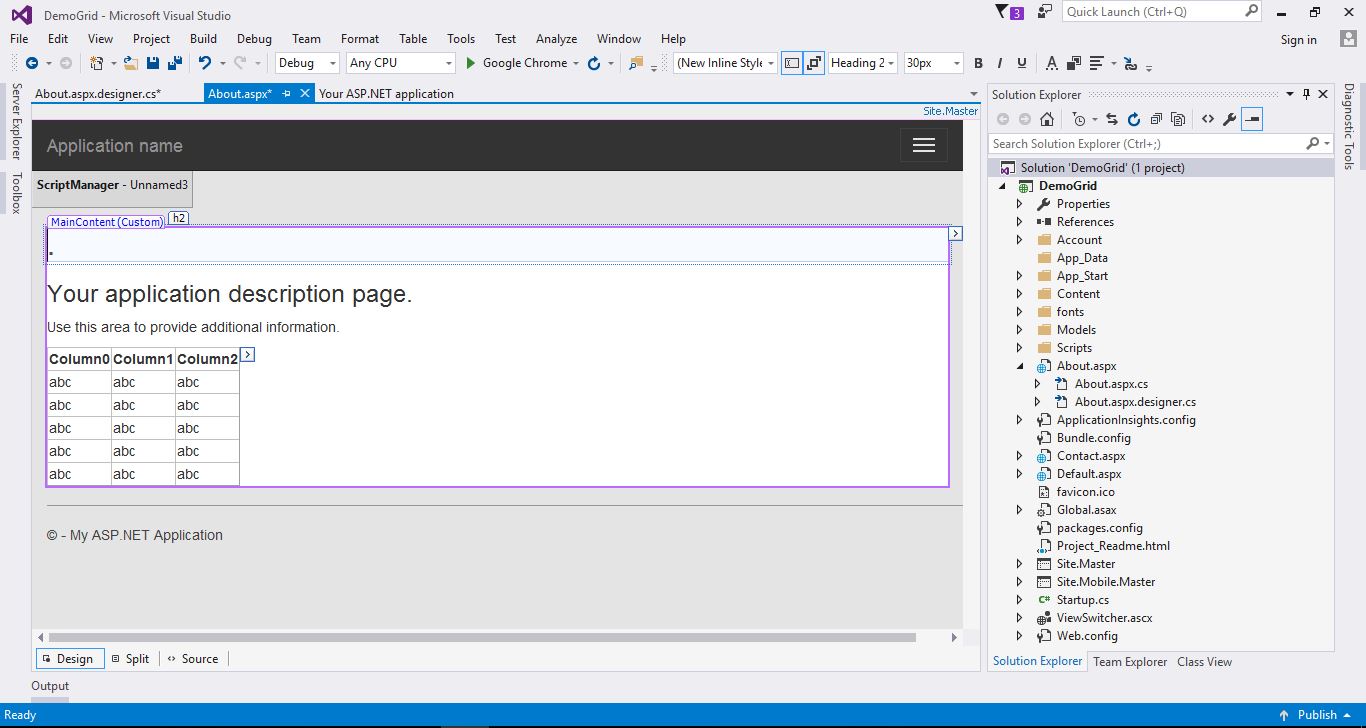
For the sake of simplicity, and to help you grasp the basics of using an ASP.NET control such as the GridView, we will be using a page that is already generated along with the project. On the solution explorer, scroll down to the About.aspx page. By clicking on the small arrow on the left, you may open it’s content.
Now you notice that there are several files which were hidden inside, for instance: About.aspx.cs and About.aspx.designer
6
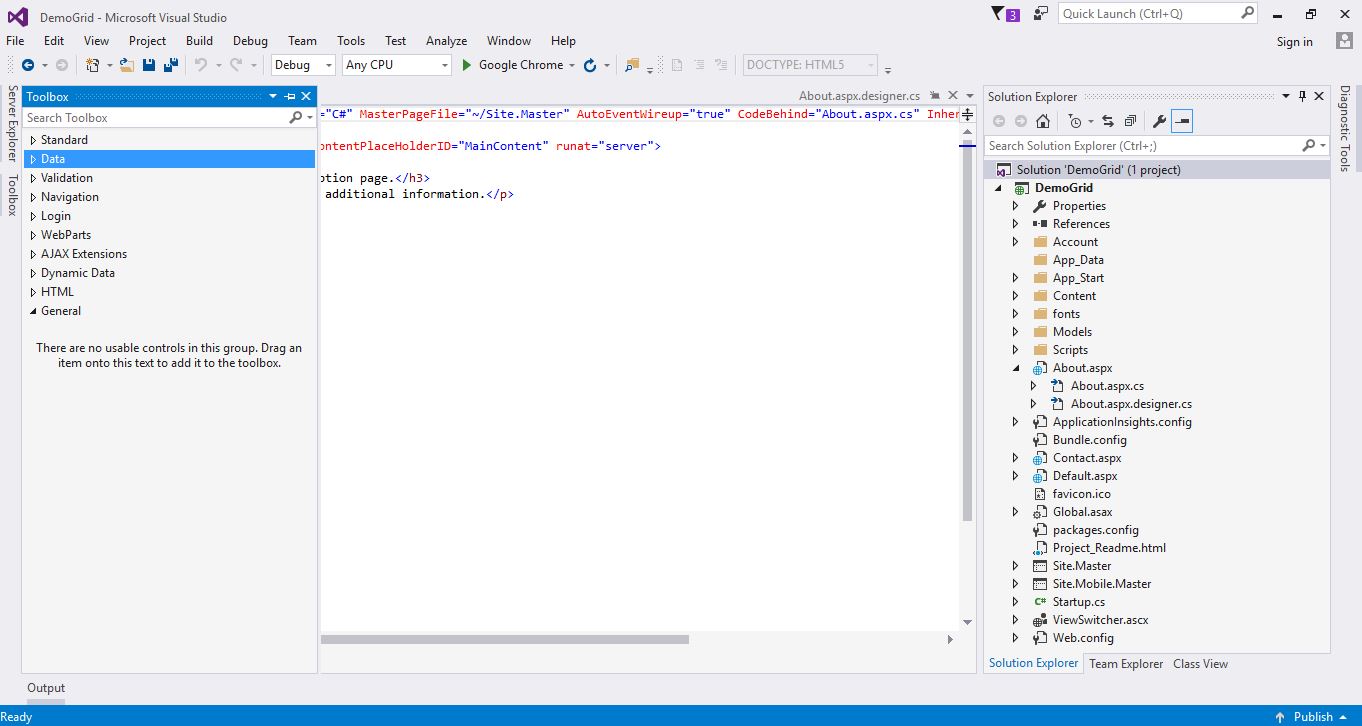
On the left of Visual Studio, you will find two Tool panels: Server Explorer and Toolbox. Click on Toolbox to open up the built-in ASP.NET controls.
7
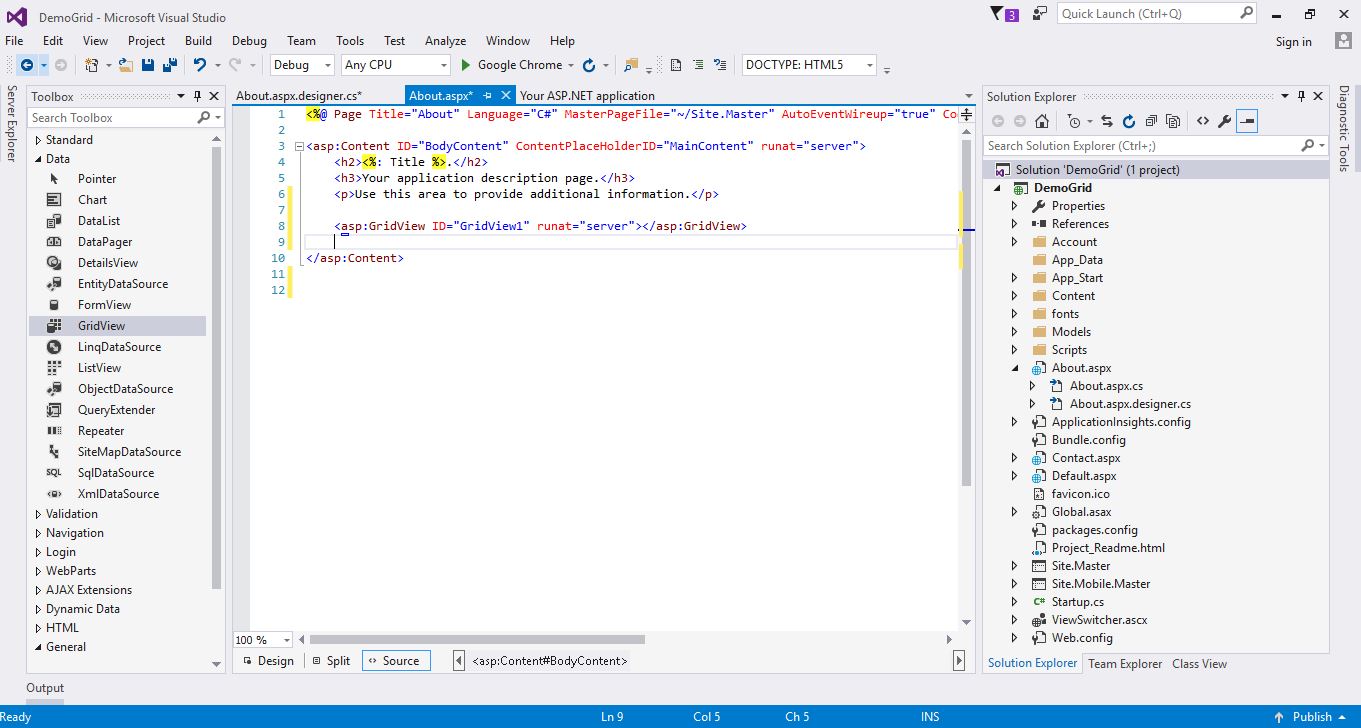
You will notice that the controls are organized by category. Since we are looking for the GridView control, we should expand the Data category by clicking on the small triangle (or arrow).
Select the GridView control and drag it to the main area.
8
In order to switch to the Design View, click on the “Design” tab on the bottom of the screen.
9
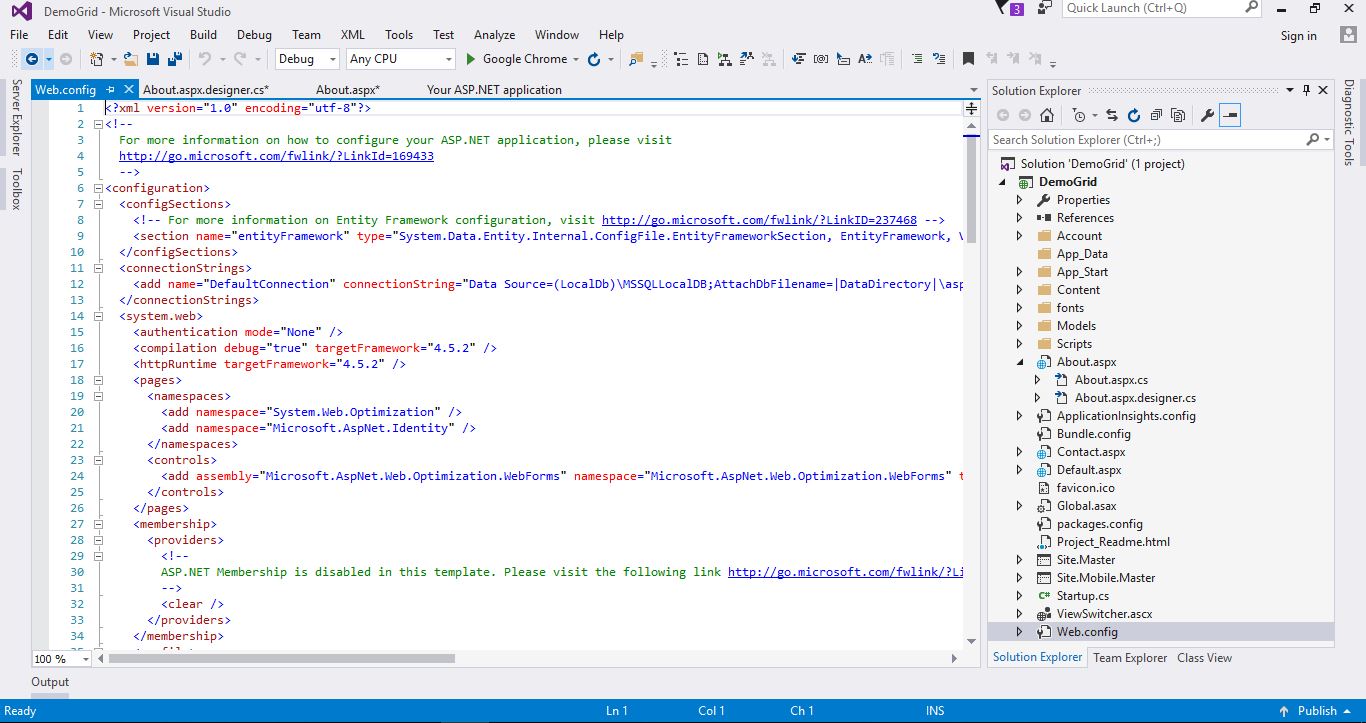
Now we need to make a connection between the ASP.NET web application and the database server (SQL Server). To achieve this, we need a Connection String. A Connection String simply holds authentication data such as the server name, the database name, the database username, password, and so on.
The Connection String of an ASP.NET application is located in the Web.config file. You may locate the file in the solution explorer (around the end of the files list). Click/Double click to start editing.
10
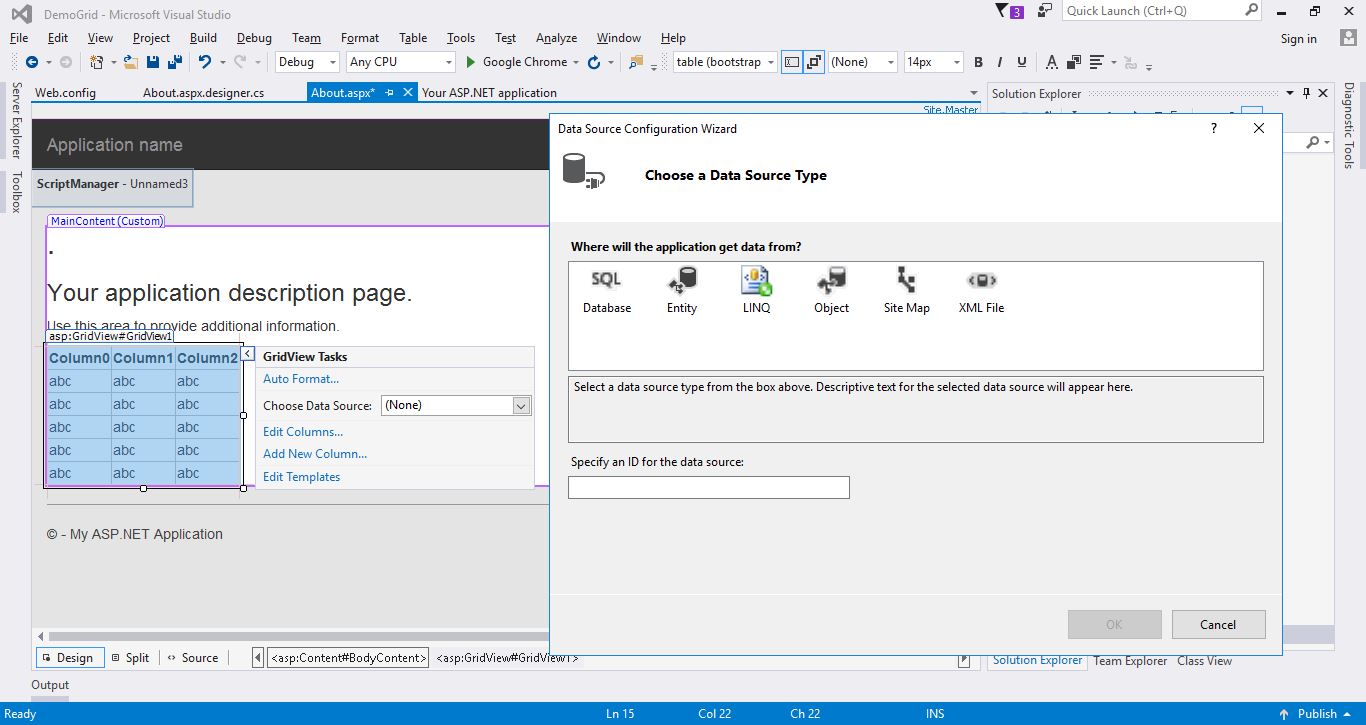
Although you can absolutely edit the Connection String straight in the code editor, there is actually a simple and automated way to do it. Go back to the Design View, select the GridView and press the small arrow button that appears on the right.
A small window will pop up: GridView Tasks. Select “Chose Data source.” A Data Source Configuration Wizard is then opened in a second window.
11
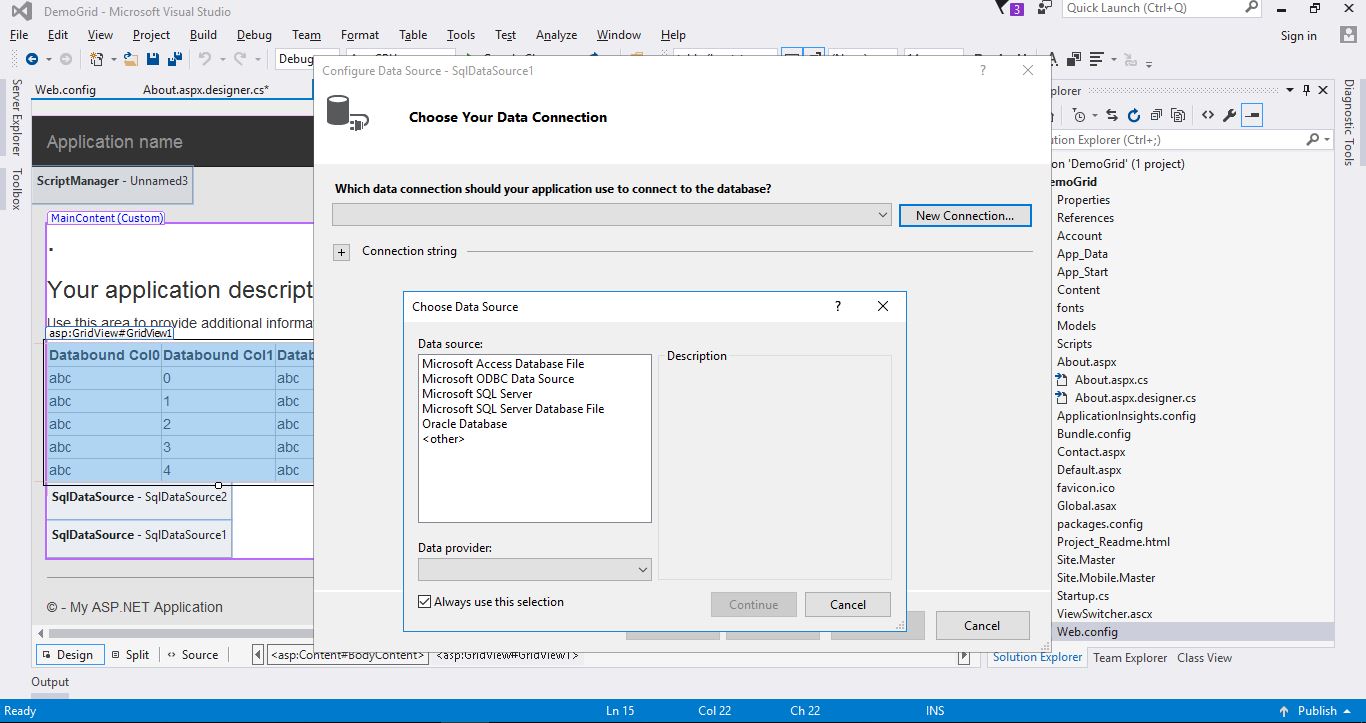
From the list of options in the Data Source Configuration Wizard, select SQL and click “OK.” Next click on the “New Connection” Button, a pop up window will show with a list of Data Source options. Select “Microsoft SQL Server” and click “Continue.”
12
On the following screen, you will be prompted to setup the SQL Server
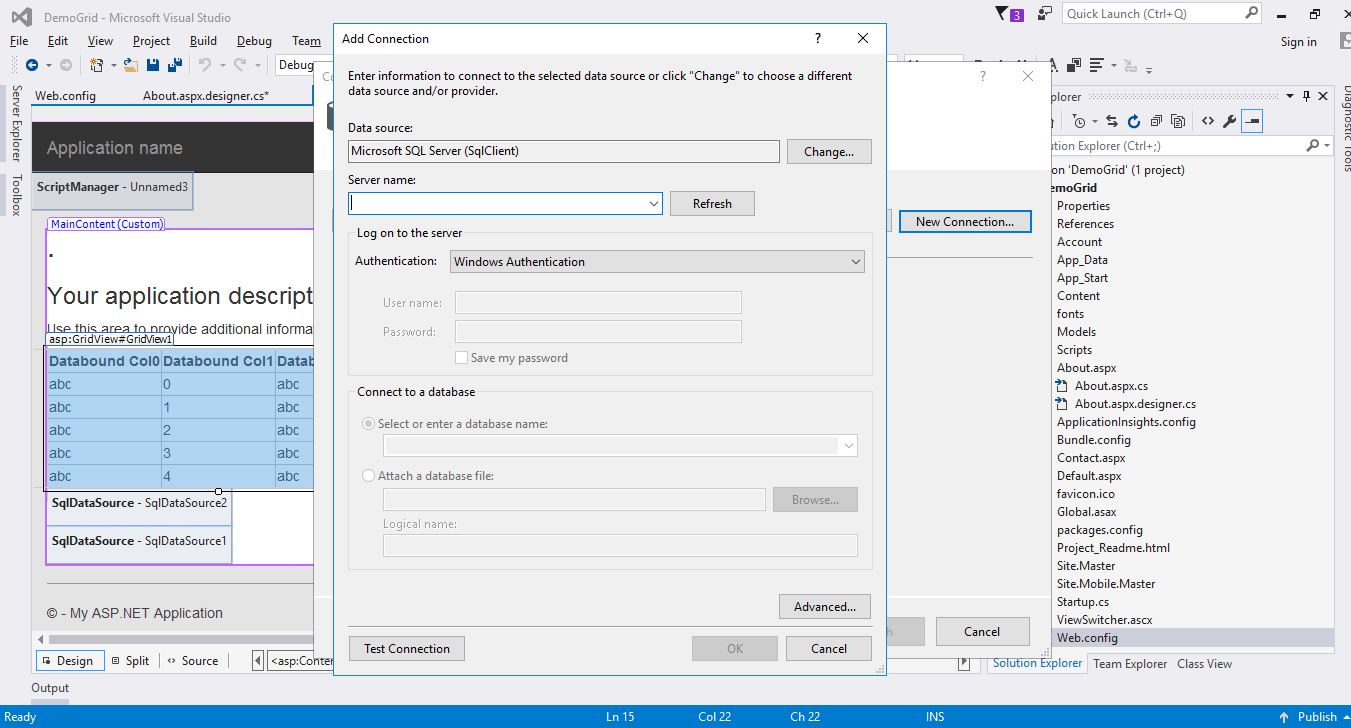
13
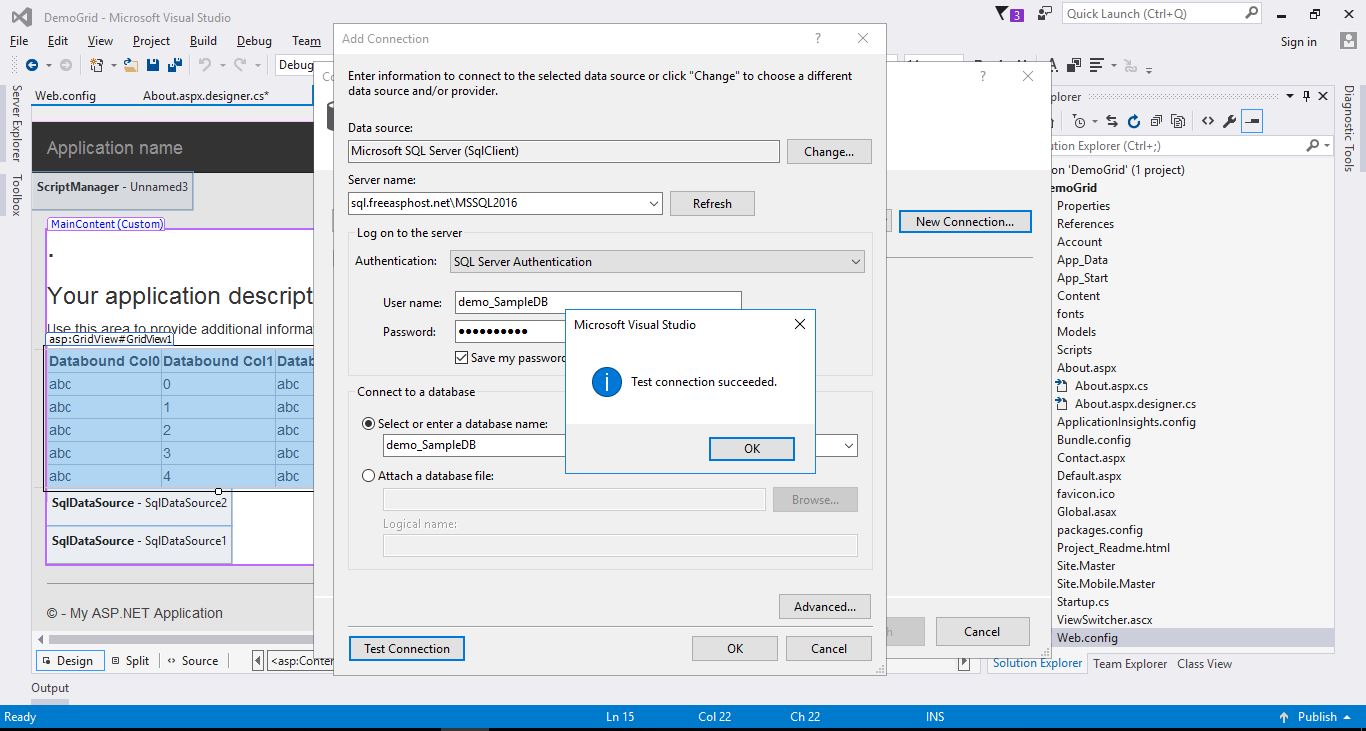
On this screen, you will fill in the authentication data from your FreeASPHosting.net account. You need to set the server name, then set authentication to “SQL Server Authentication”, then out your Username and Password (If in doubt, refer to our online tutorial). Next select the “demo_SampleDB” and click the “Test Connection” button. Now you should be all set, press “OK” to continue.
14
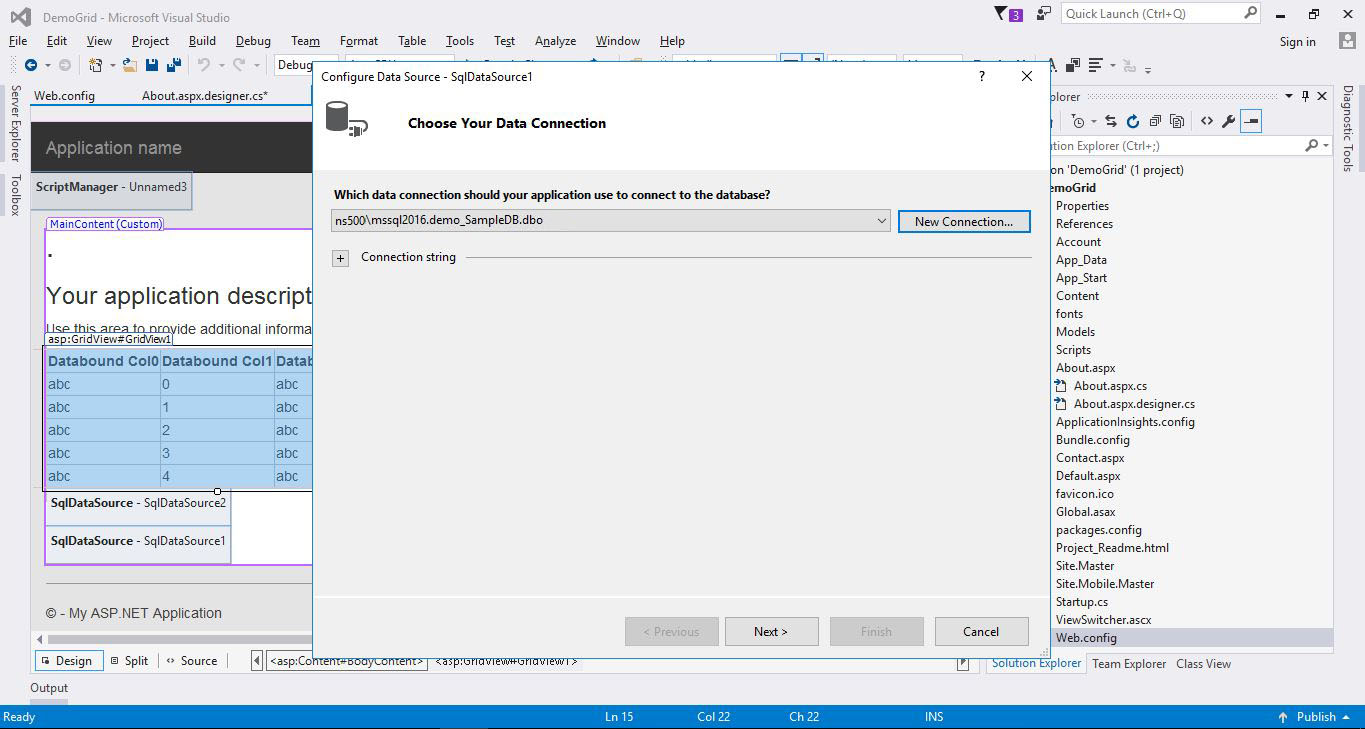
Now that your connection is well set, click “Next” to proceed.

15
Next, save the connection and click “Next”.
16
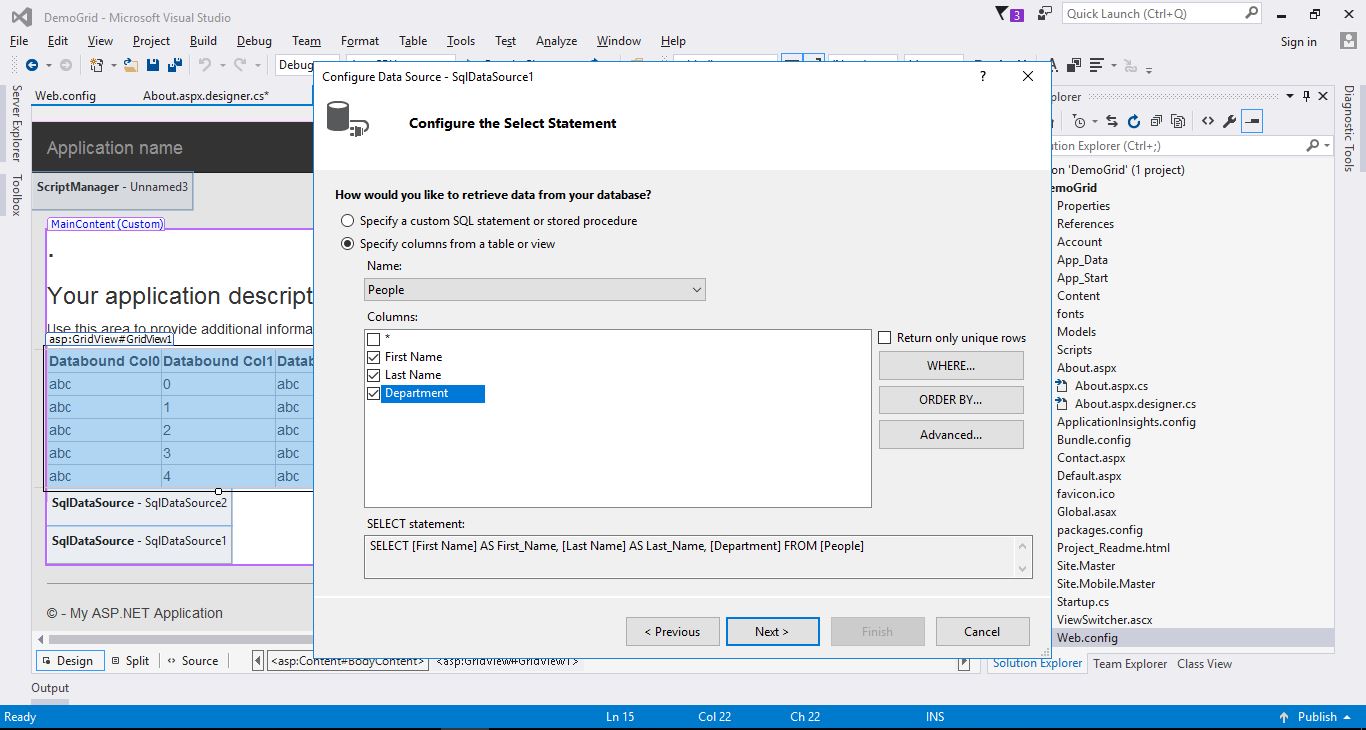
Now you can select which Table and Columns you want to display on your GridView. Click “Next”
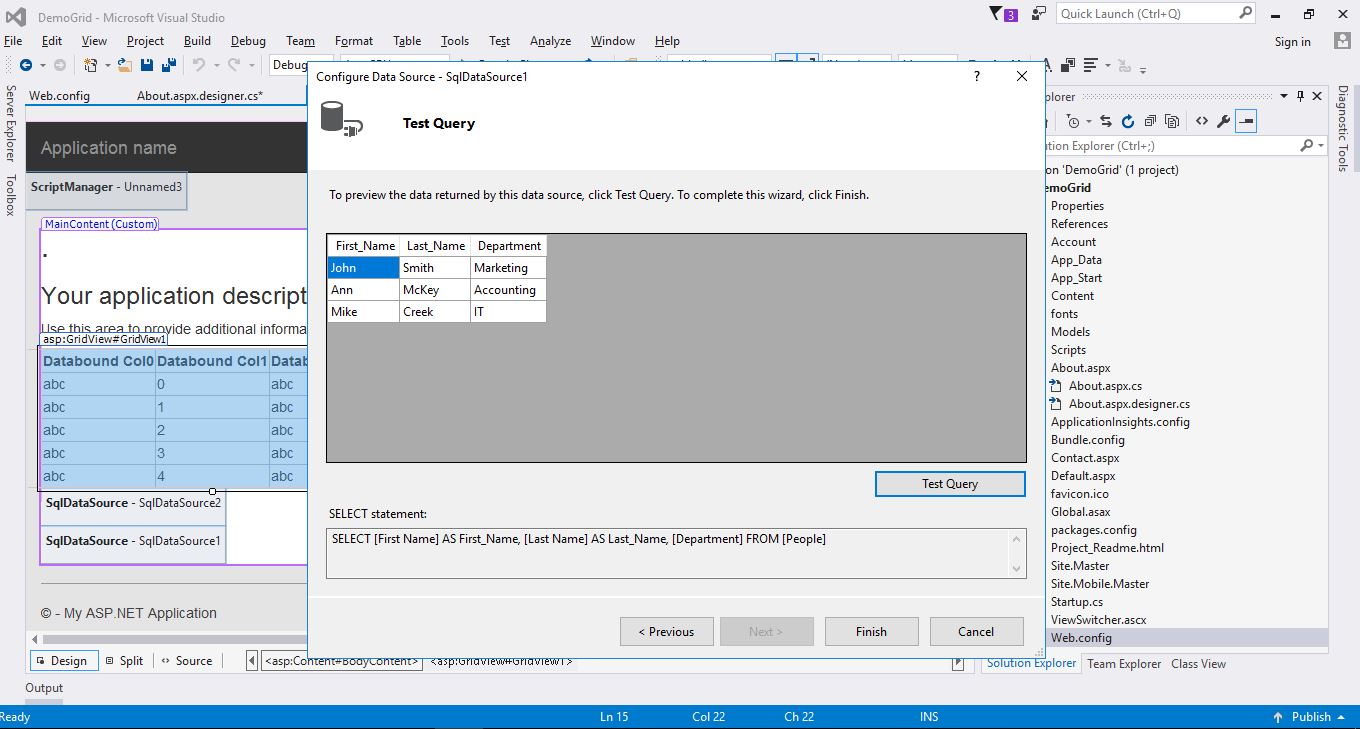
17
Once done, test your query to check that everything is working as expected. Then click on “Finish” to end the Configuration Wizard.
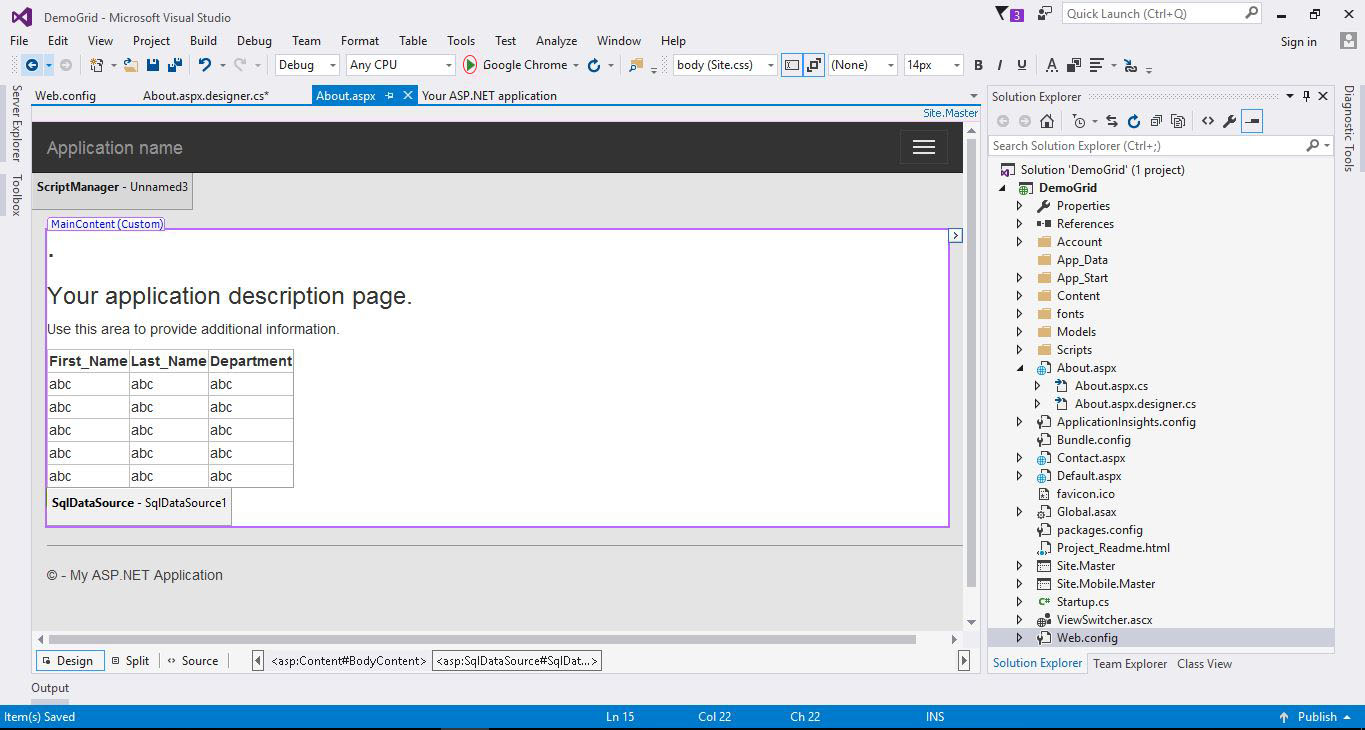
18
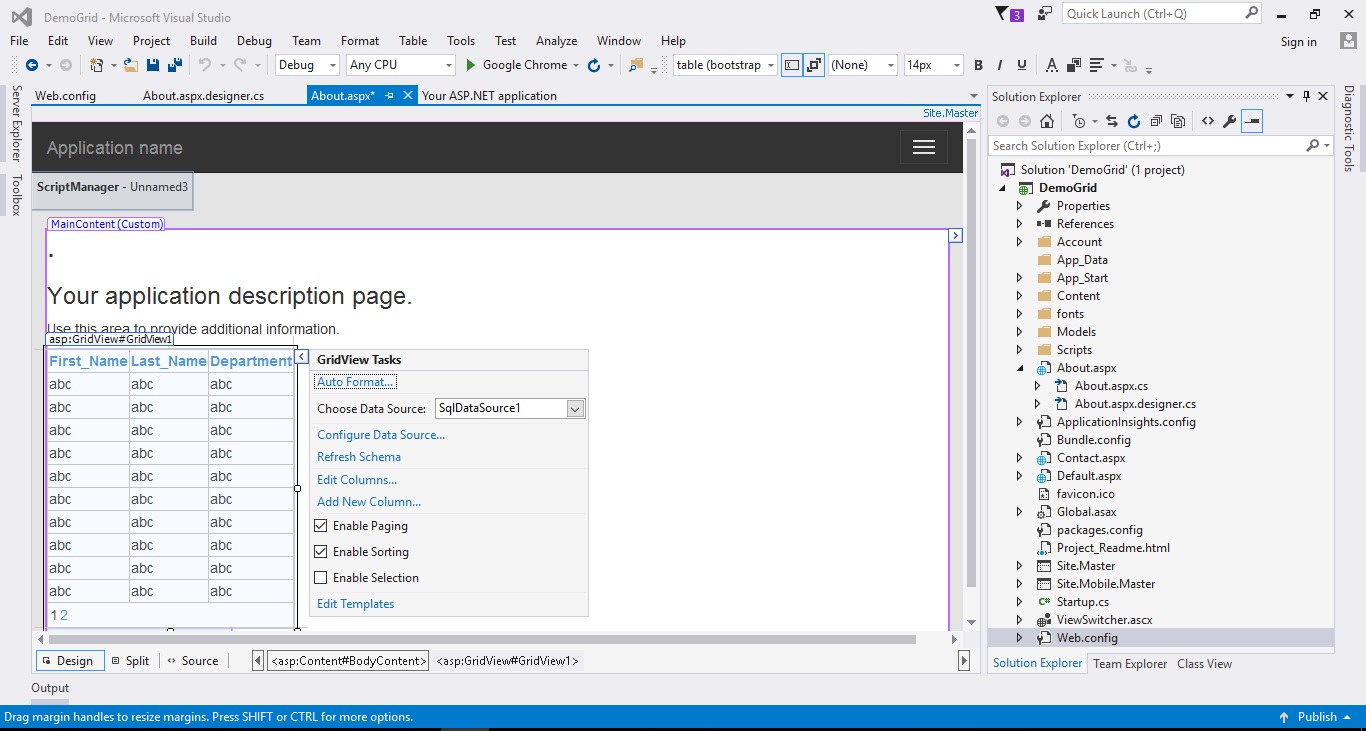
Once the Wizard is closed, you will notice that the Grid’s header and contentchanged. Click on the run icon of Visual Studio.
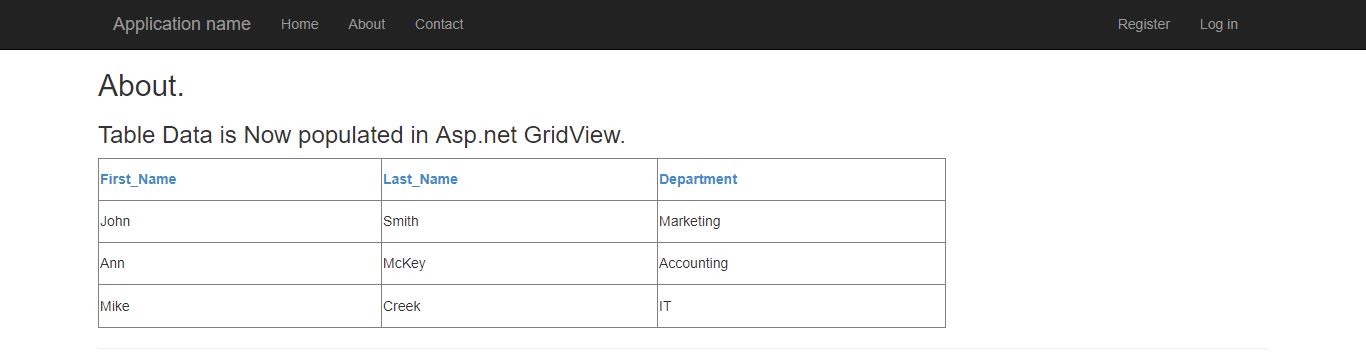
19
The built-in server will boot, running your application. Eventually, our code works and the GridView displays correctly on the web page.
20
It’s always a good idea to split the displayed data, by activating pagination. This is simply done on the Design View. On the Grid’s options, enable paging and sorting then save.