ASP.NET Programming: The Workspace
Technology is at the heart of our modern life. Be it at home, at school or at work, we use different kinds of gadgets everyday. With an increasingly fast Internet connectivity, our devices help us improve our productivity and speed up our work.
As a beginner, you might be wondering: how all these applications are made? This is a very good question, but before getting to the answer, let’s first list the types of applications available today.
Mobile Apps: as their name suggests, these are applications on mobile devices such as smartphones and tablets.
Desktop Apps: Although the name might make you think that, these applications run on desktop computers, but the truth is that this name is used to distinguish applications that are run on a Desktop operating system, on a desktop computer, or laptop.
Web Apps: Now to the most popular type of applications: Web applications, are accessible through the web (Internet), mostly using a browser. The main advantage that this type introduces is the fact that a user can access them on any operating system or device with a browser and an Internet connection. Another advantage of web apps is the fact that the user doesn’t need to install anything on their devices to run these applications. The list can go on even further but for the sake of simplicity we will stick with this swift introduction.
In order to write computer/web/mobile applications, a range of technologies are available to you. In this tutorial we will go through the steps of setting up a programming environment for the .NET technology, using the C# language, and the ASP.NET framework. These technologies are a product of Microsoft Corporation since 2001.
Programming languages can be either interpreted, compiled or a hybrid approach, which is the case for C#, which is compiled to IL(Intermediate Language), and then JIT(Just-in-Time) compiled on runtime by the .NET platform.
If this sounds complicated to you then fear not, as Microsoft offers a free IDE (Integrated Development Environment), which is, as it’s name suggests, a single tool that will group all you will need to write applications, hassle free.
From project creation to deployment on the final server, Microsoft’s Visual Studio will be your instrument for .NET development. Let’s get started and install it!
Installing Visual Studio
Visual Studio is a fully featured IDE, and Microsoft started to offer a free version, called “Community”, so that would be the version we will be installing, as it offers all the features you will be needing for the following tutorials.
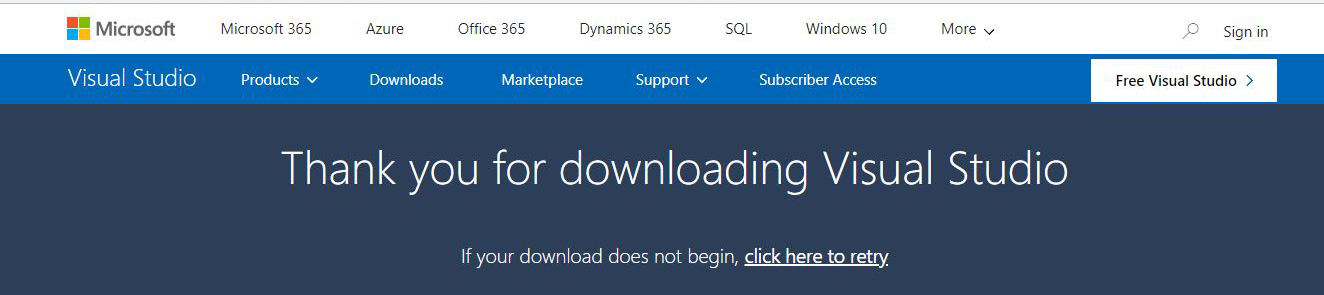
Click on the following link: https://www.visualstudio.com/vs/community/

Click on the “Download Visual Studio Community 2017” button. This will trigger a file download, with the “.exe” extension.
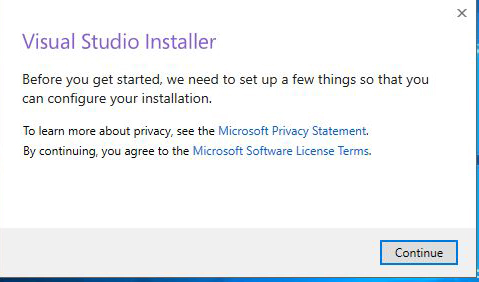
Once you download it; head to your download folder, and double click on the “.exe” file. This will start the installer program. Press continue to proceed.
The installer will automatically download the necessary component to Visual Studio, so you don’t have to worry about this at this point.
Once the download is over, the installer will automatically move to the following screen.

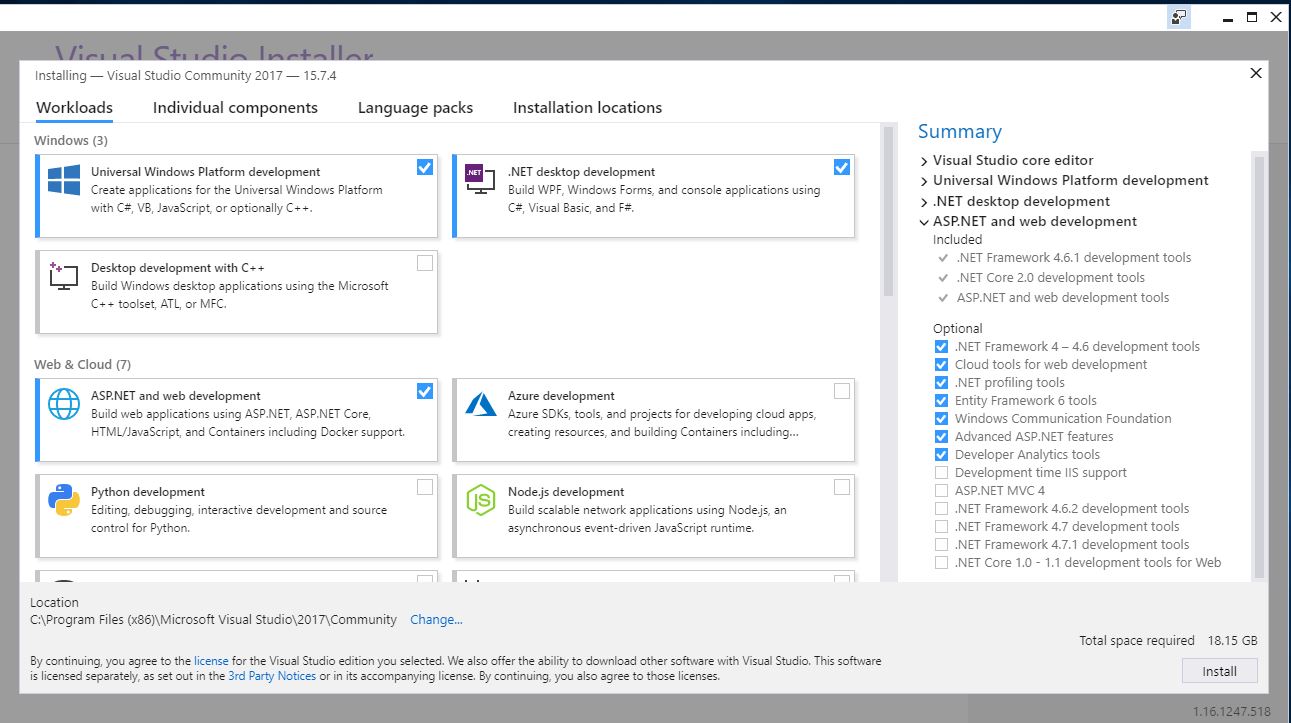
At this point, we will have to install and enable some features in Visual Studio; the following screen illustrates the core components for ASP.NET development:
- Universal Windows Platform Development
- .NET Desktop Development
- ASP.NET and Web Development

Once done with the selection, click “install.” The installer will download and set your selected component up.
The installation will take few minutes depending on your Internet speed and computer processing power. In the next section we will discover Visual Studio’s interface and features.
Getting Started With Visual Studio
So once the installation is over, head to your start menu, and search for “Visual Studio” in the search bar, once shown, click on its icon to run it.
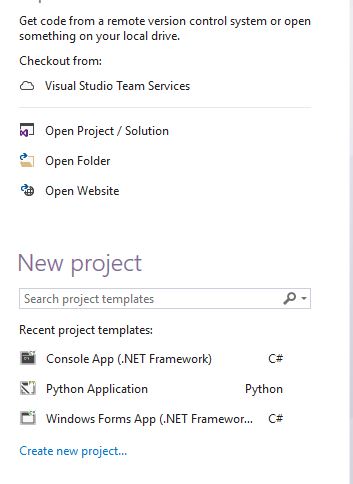
The main interface allows us to create a new project, or re-open an existing one. In this tutorial, we will be creating a new project, assuming you are new to the .NET environment, ASP.NET and Visual Studio.
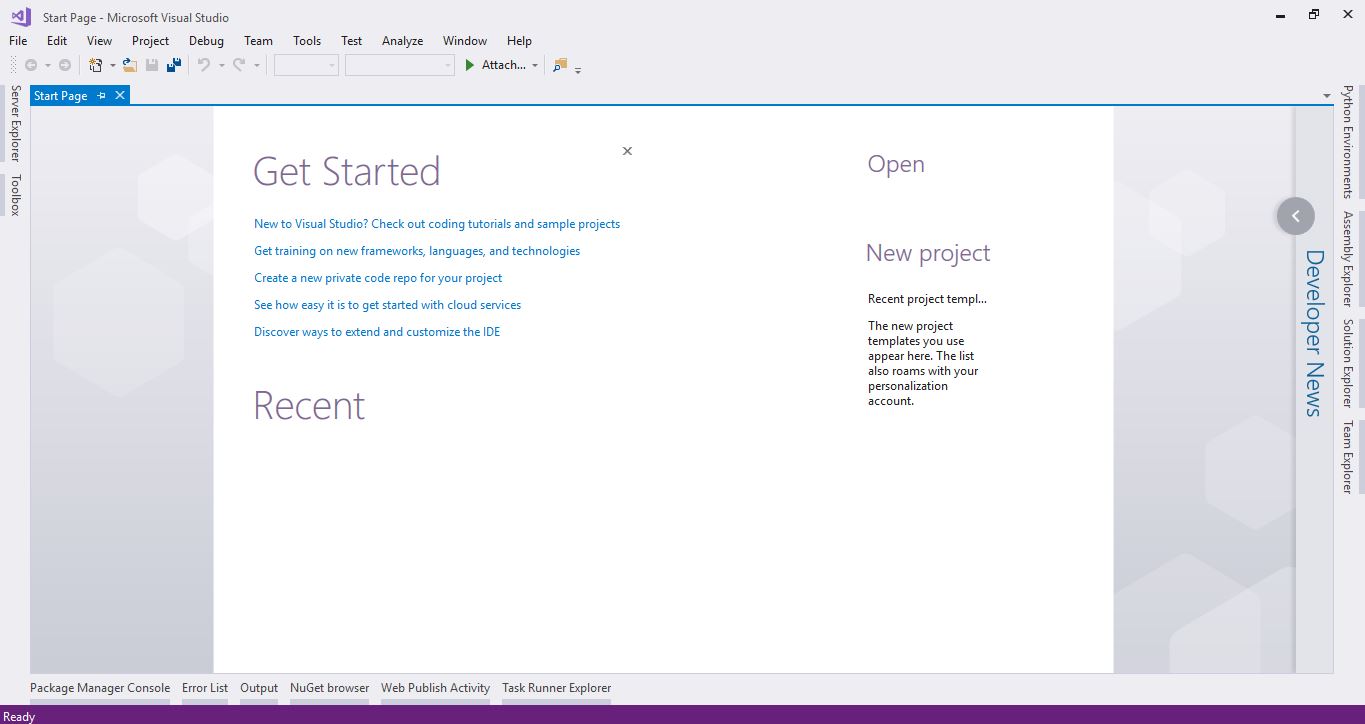
On the bottom-right side of the screen, click on the “Create New Project” link / label. This will open a pop-up window, from which you can choose a project type or template.
As explained in the introduction, there are plenty of application types that you can create. If you click on the Visual C# link, you can discover for yourself the different formats you can create like WPF, Windows Application, and Console Application.
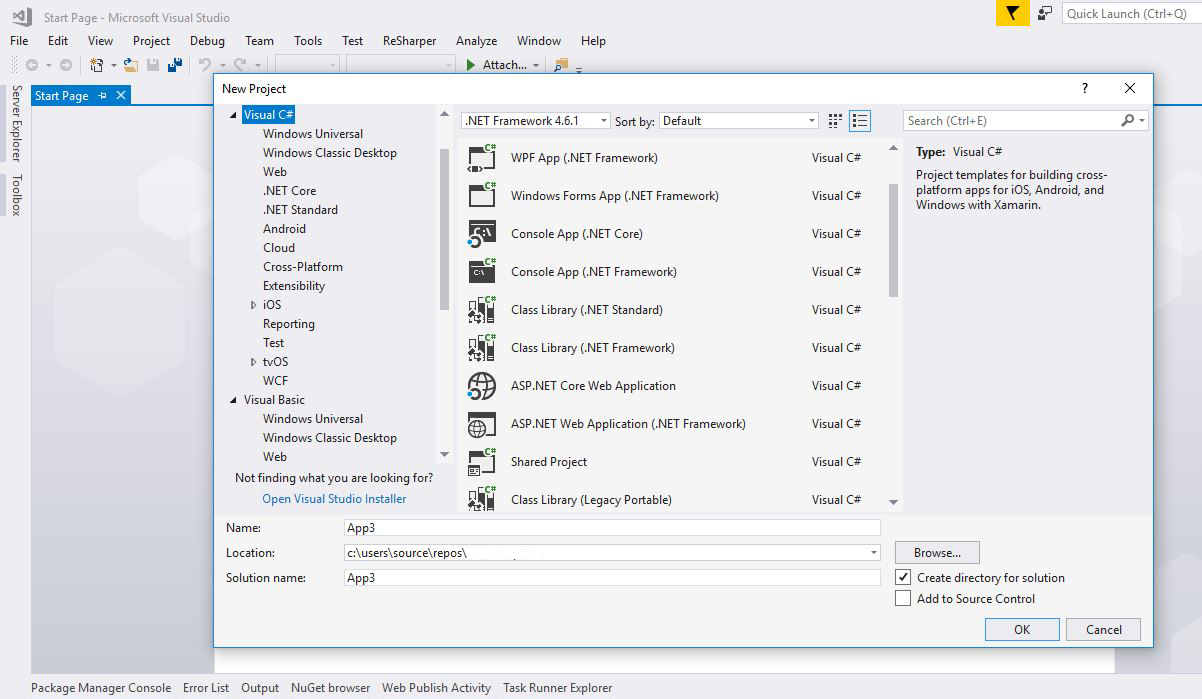
The great thing about the .NET technology is that you can use the same language, IDE, tools and framework to create different kinds of applications.
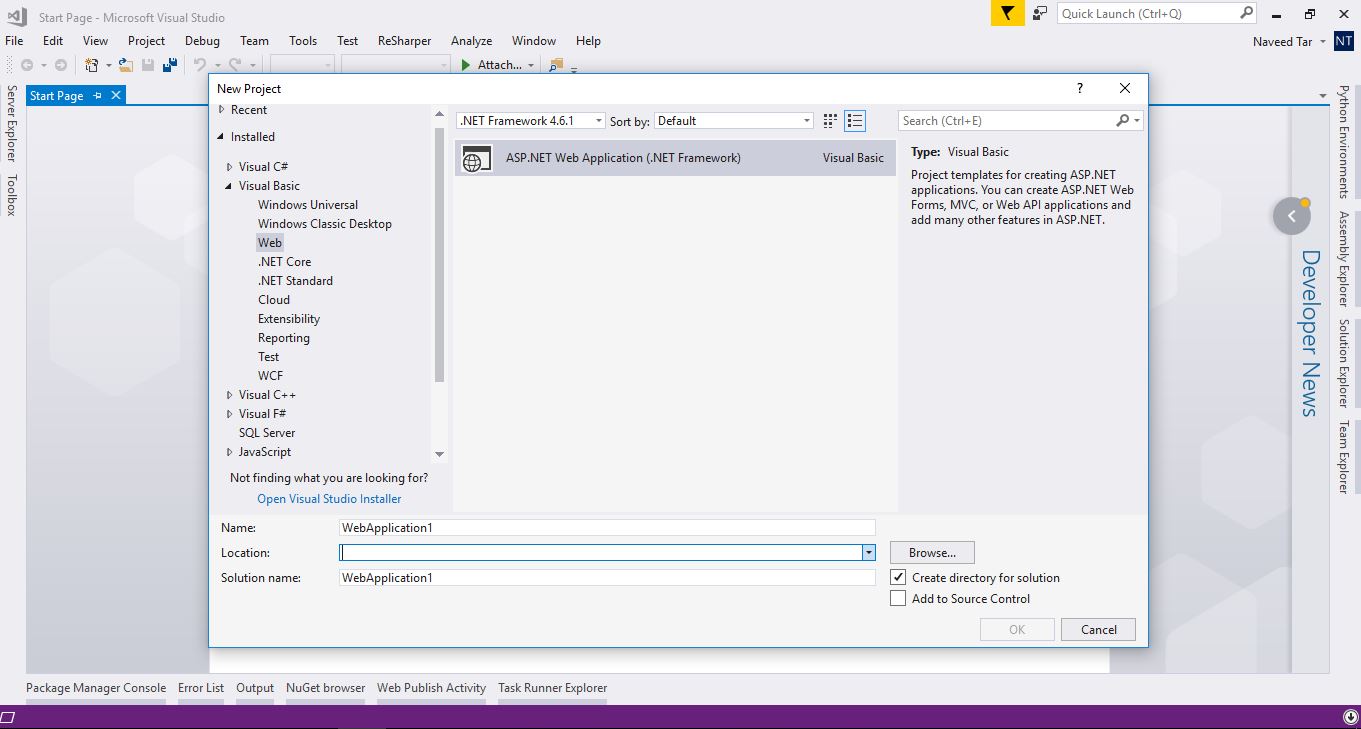
To create web applications in C# we will expand the Visual C# link and click on “web.” On the right side of the screen you will see the web application template.
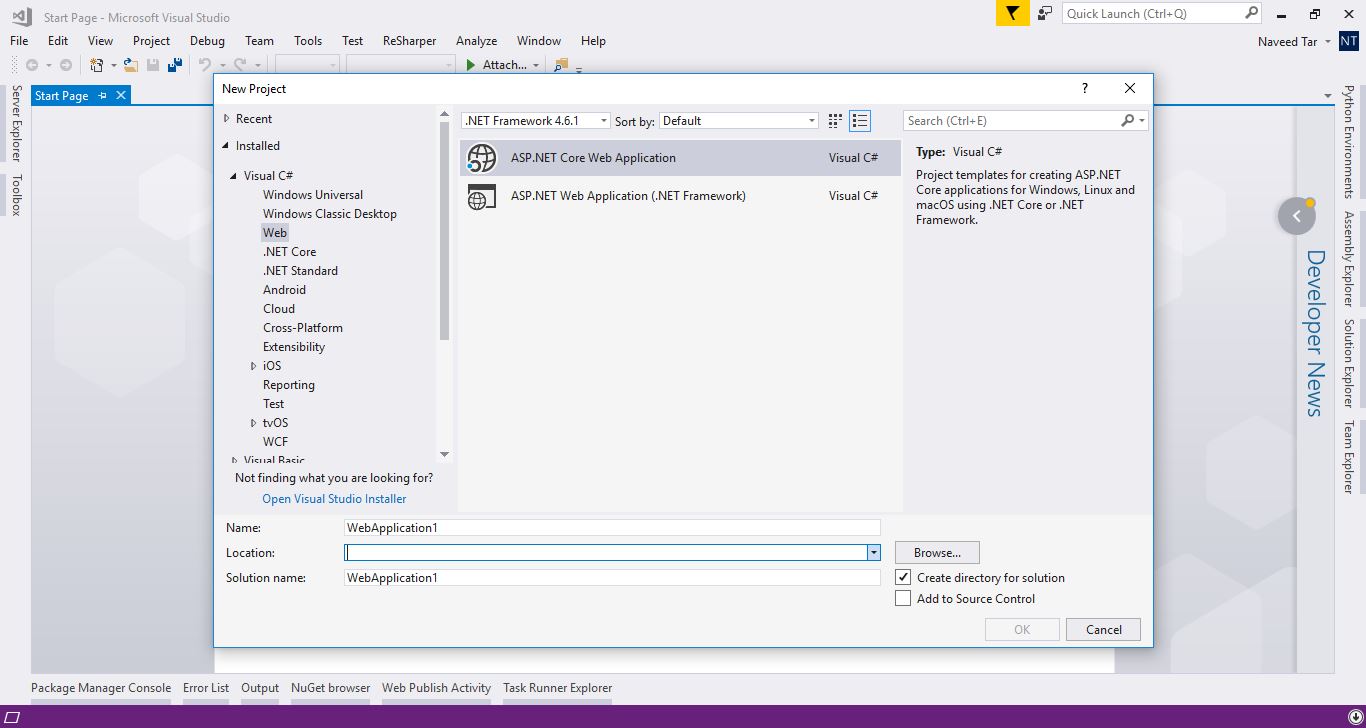
To create a Visual Basic web application expand the Visual Basic link on the left side menu and click on “web.” Now you will have a web template for Visual Basic.